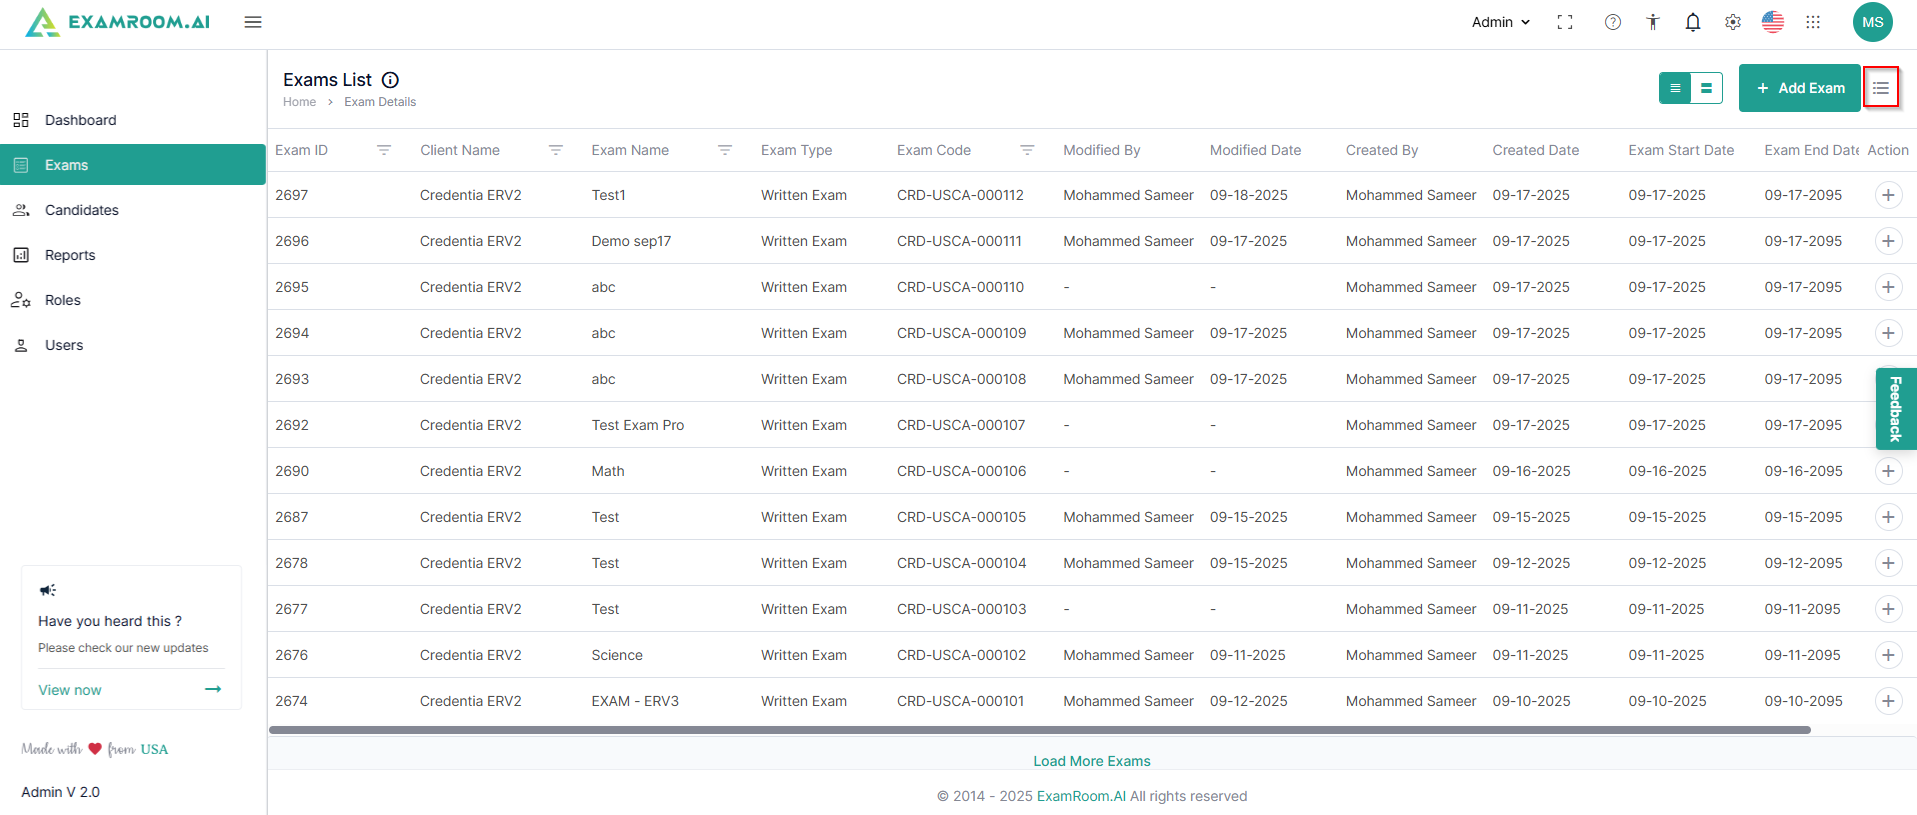
You can customize viewing any of these through the customize display option.
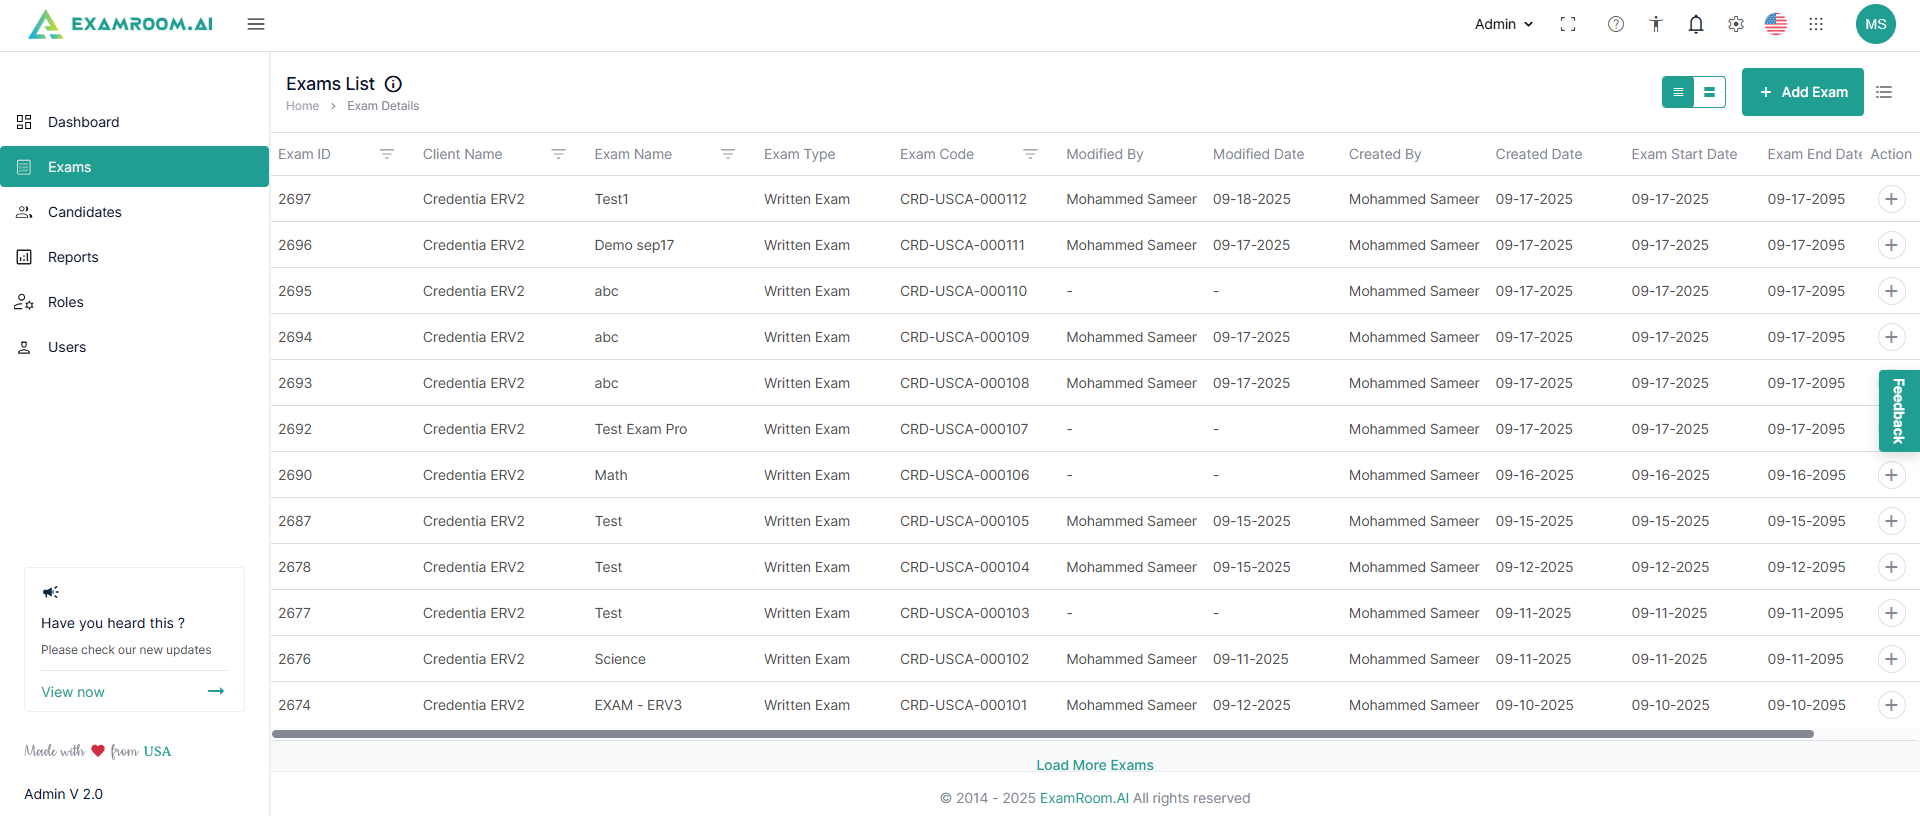
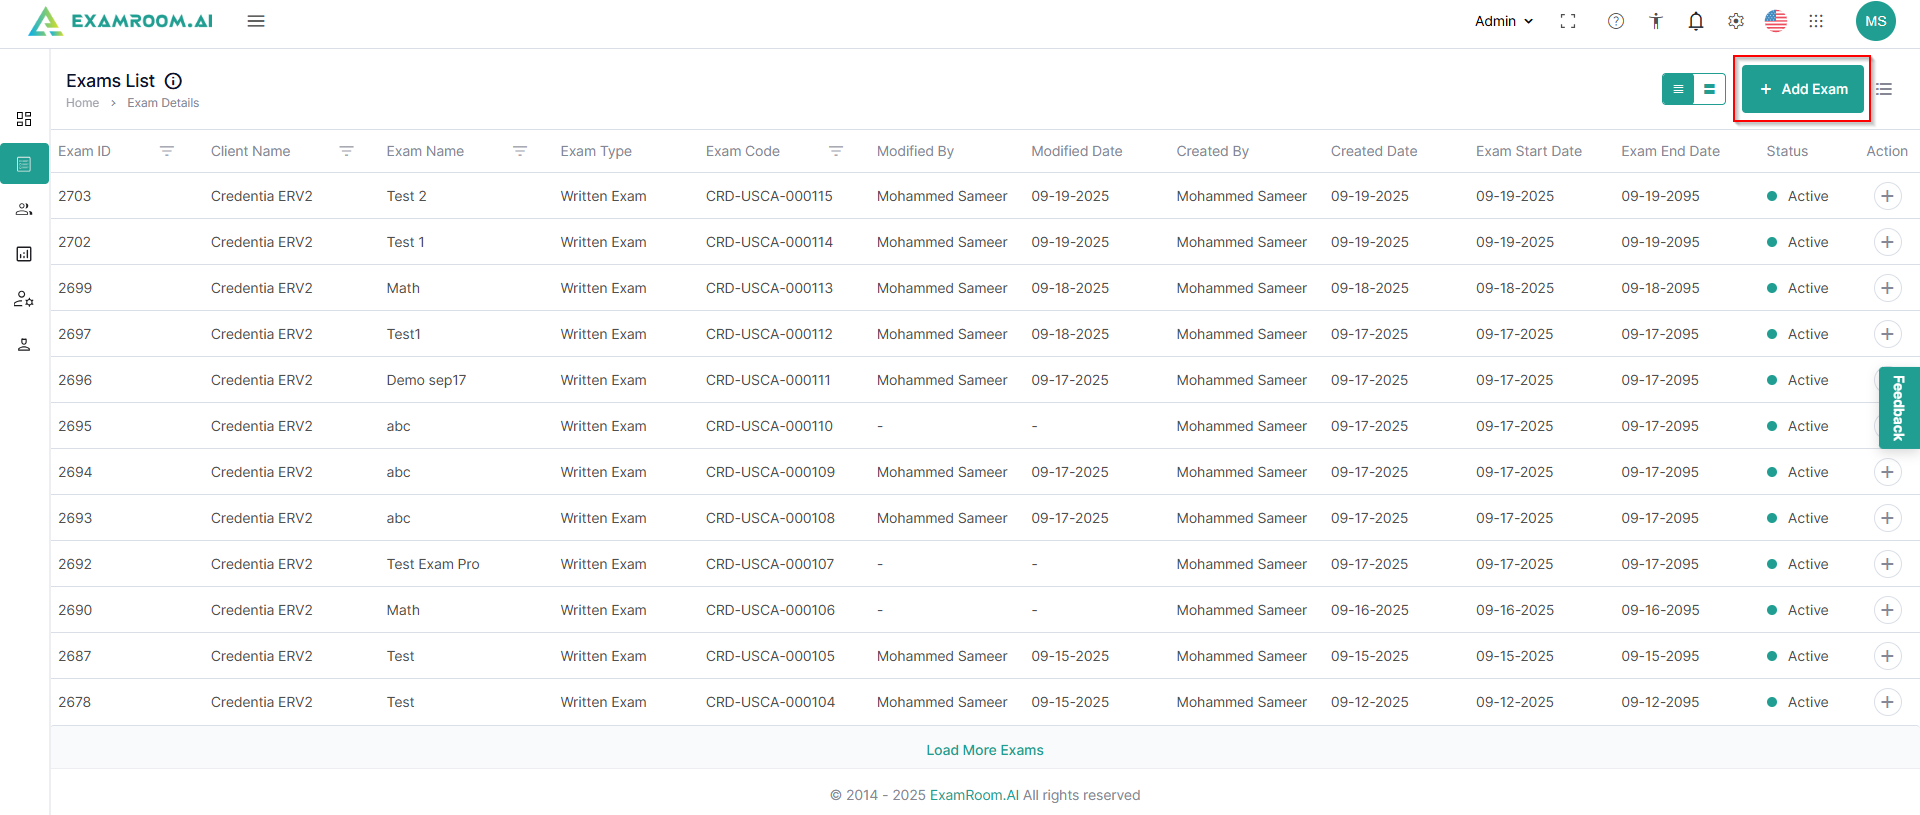
In the exam details section, the list of exams is displayed with the following details:
ExamID: Unique ID number of the exam
ClientName: Name of the Client
ExamName: Name of the exam
ExamType: Type of the exam
ExamCode: Unique code of the exam
ModifiedBy: Name of the person who last modified the exam
ModifiedDate: Date of last modification of the exam
CreatedBy: Name of the person who created the exam
CreatedDate: Date of creation of the exam
ExamStartDate: Date of exam activation
ExamEndDate: Date of exam deactivation
Status: Current status of the exam
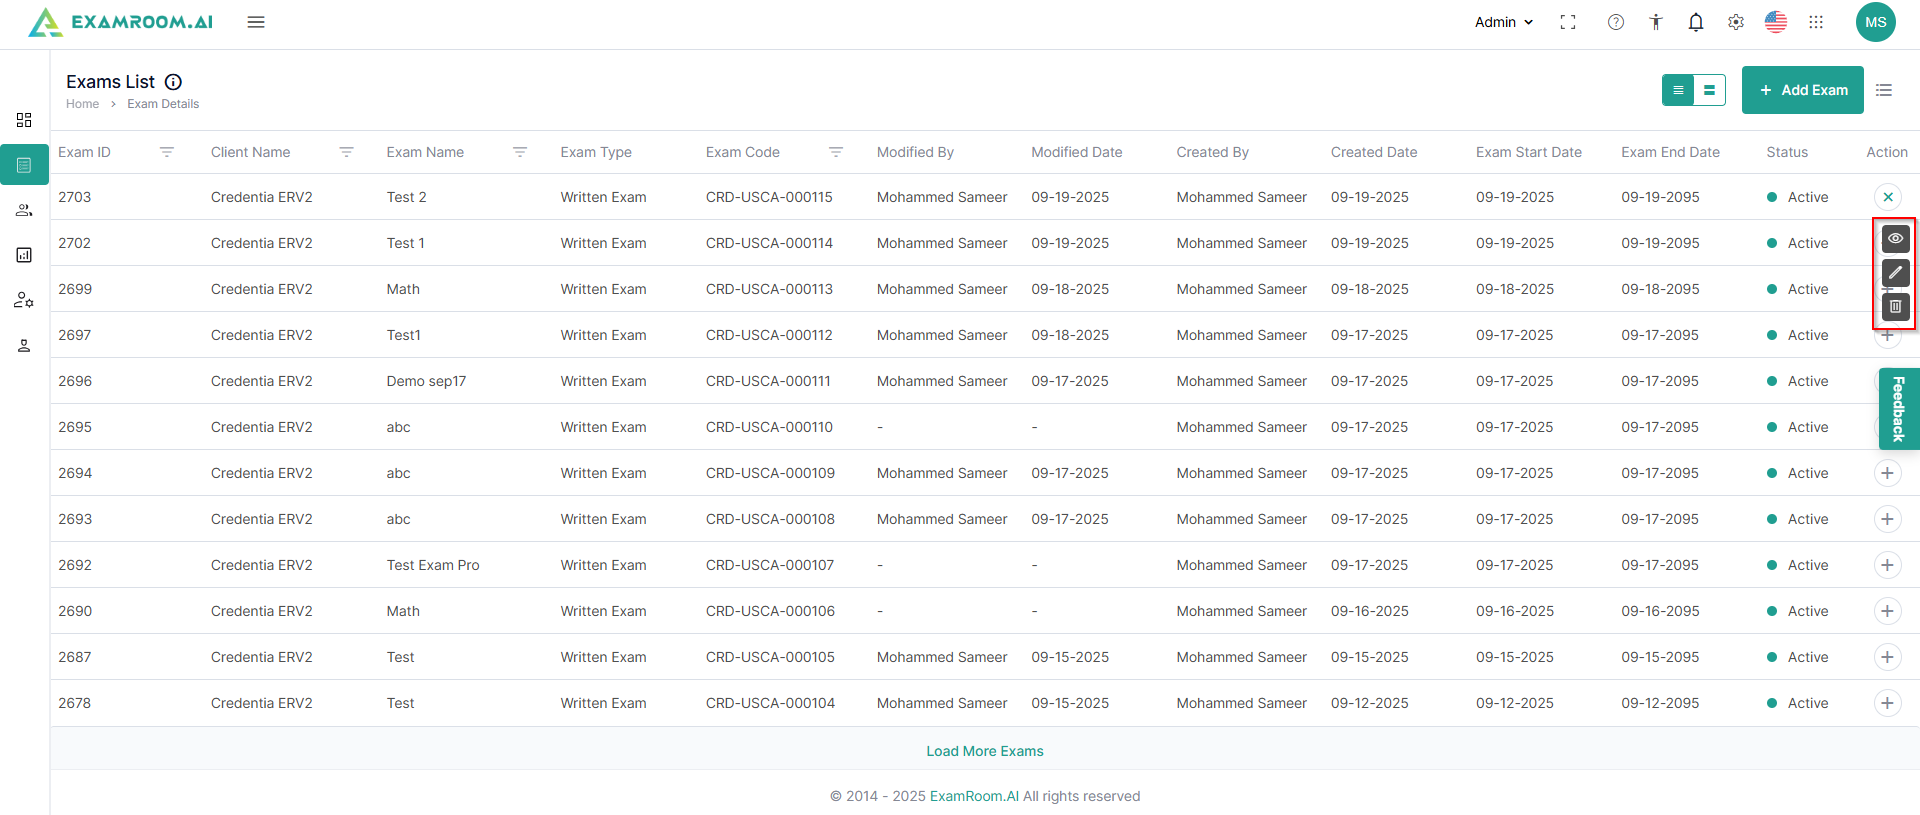
Action: Available actions on the exam
View: Click to view the exam reports
Edit: Click to edit a previously created exam
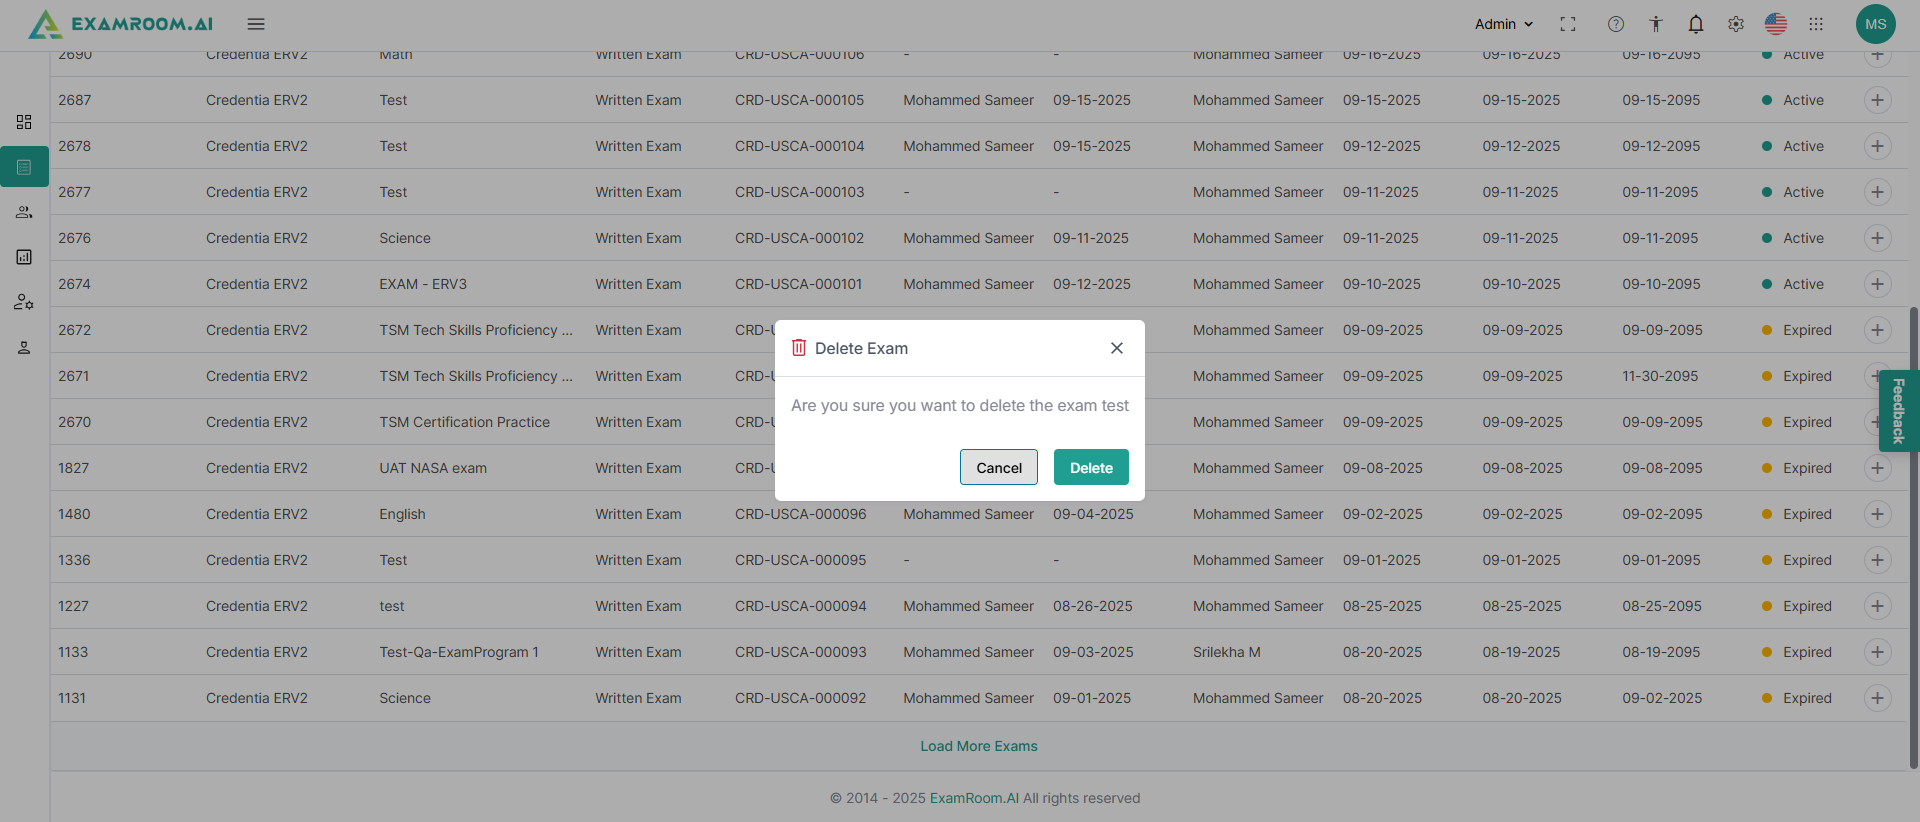
Delete: Click to delete the exam
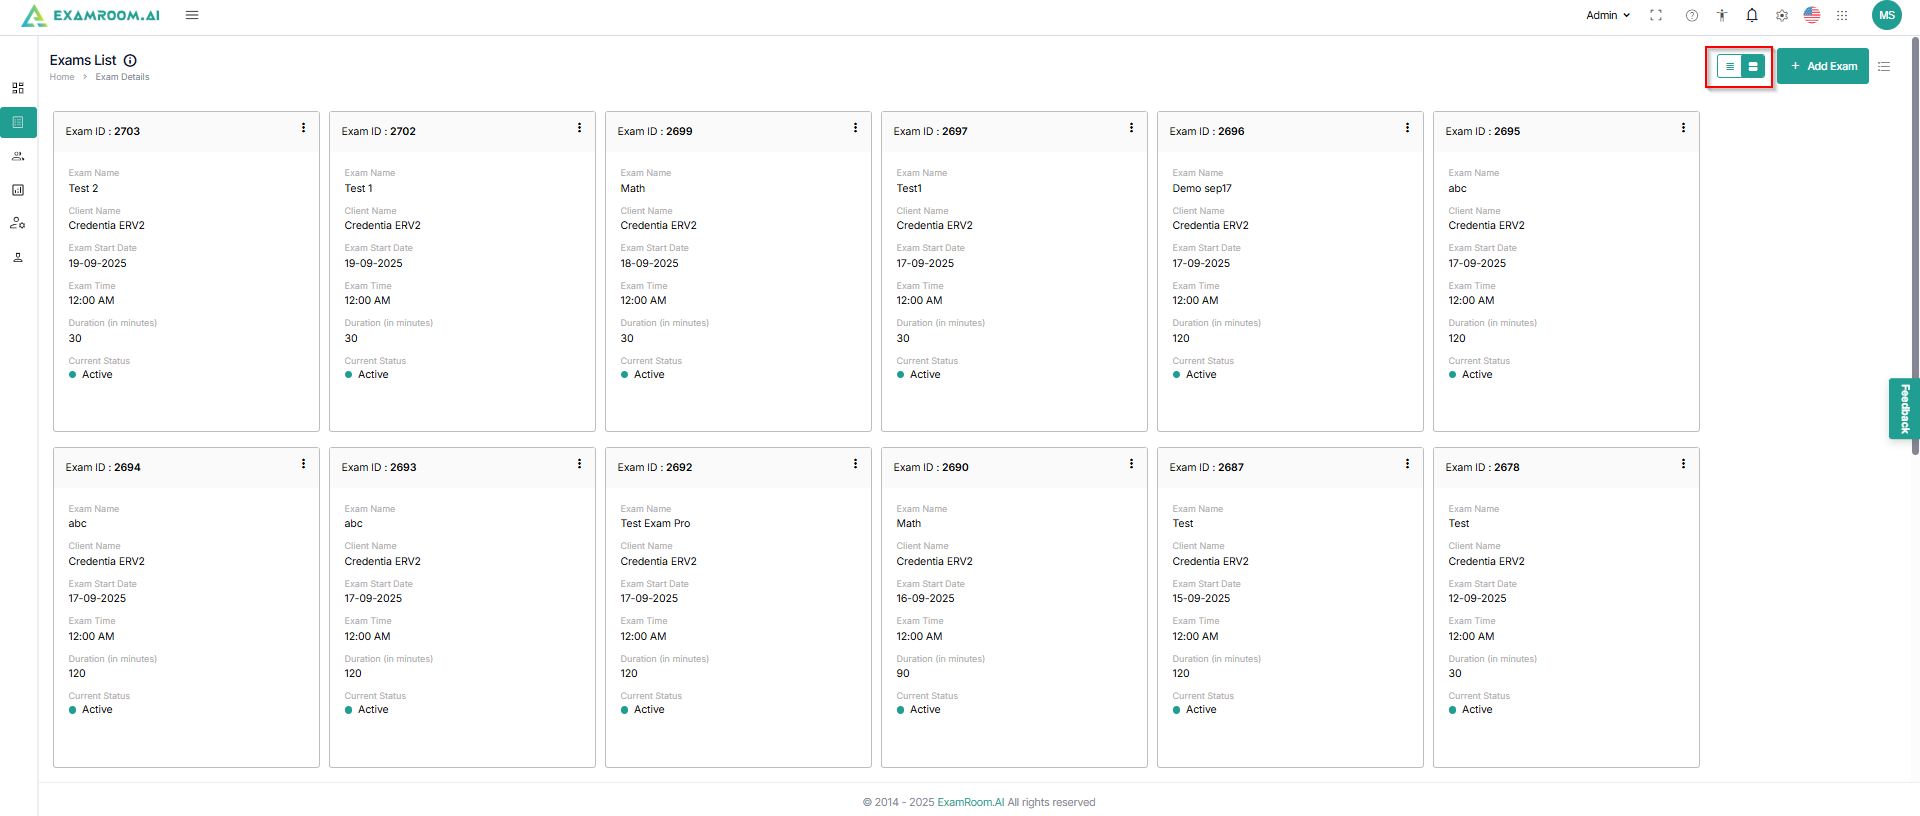
You can customize the display to view the exams in a grid instead of a list.
Add an Exam
Click AddExam to add a new exam.
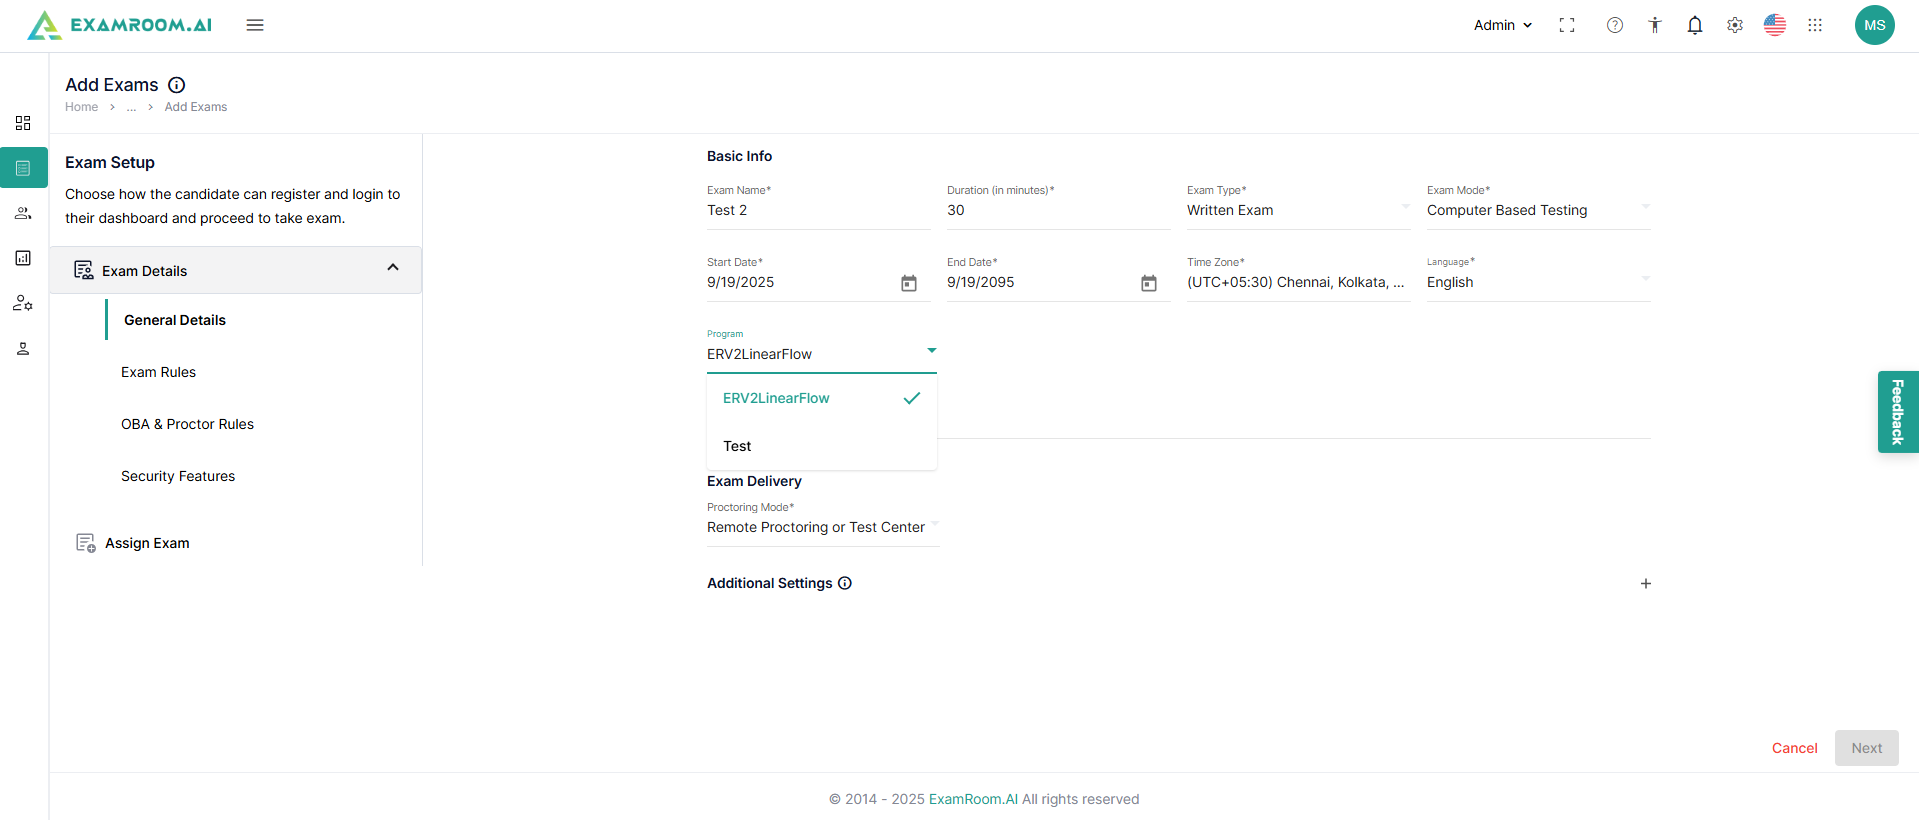
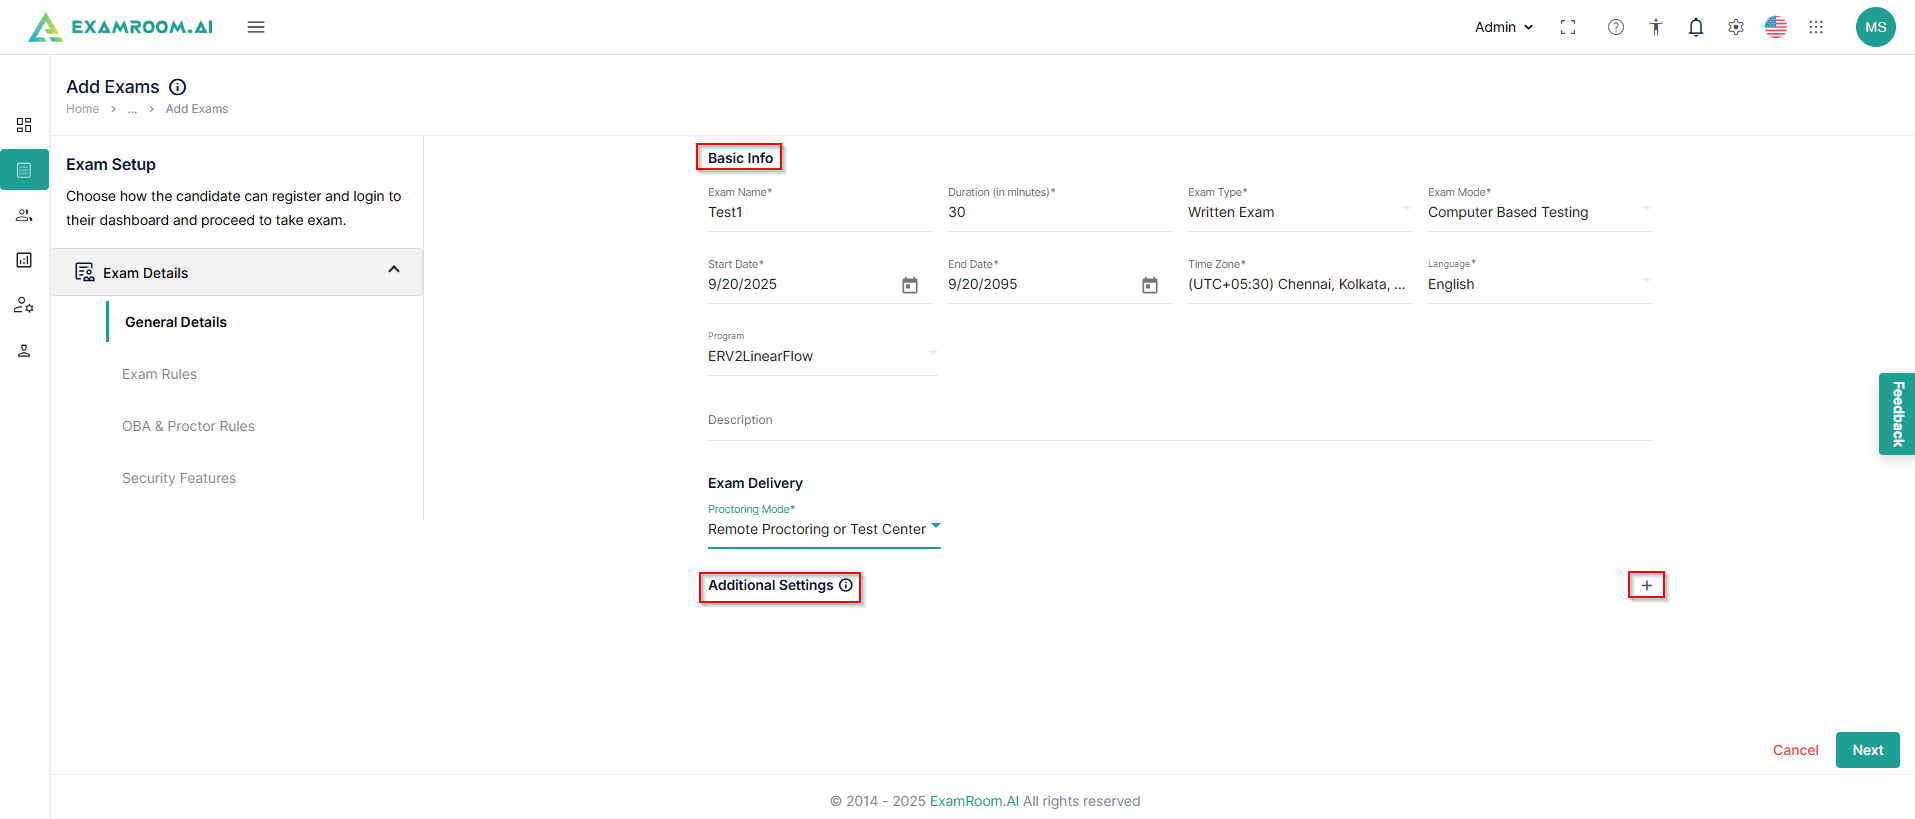
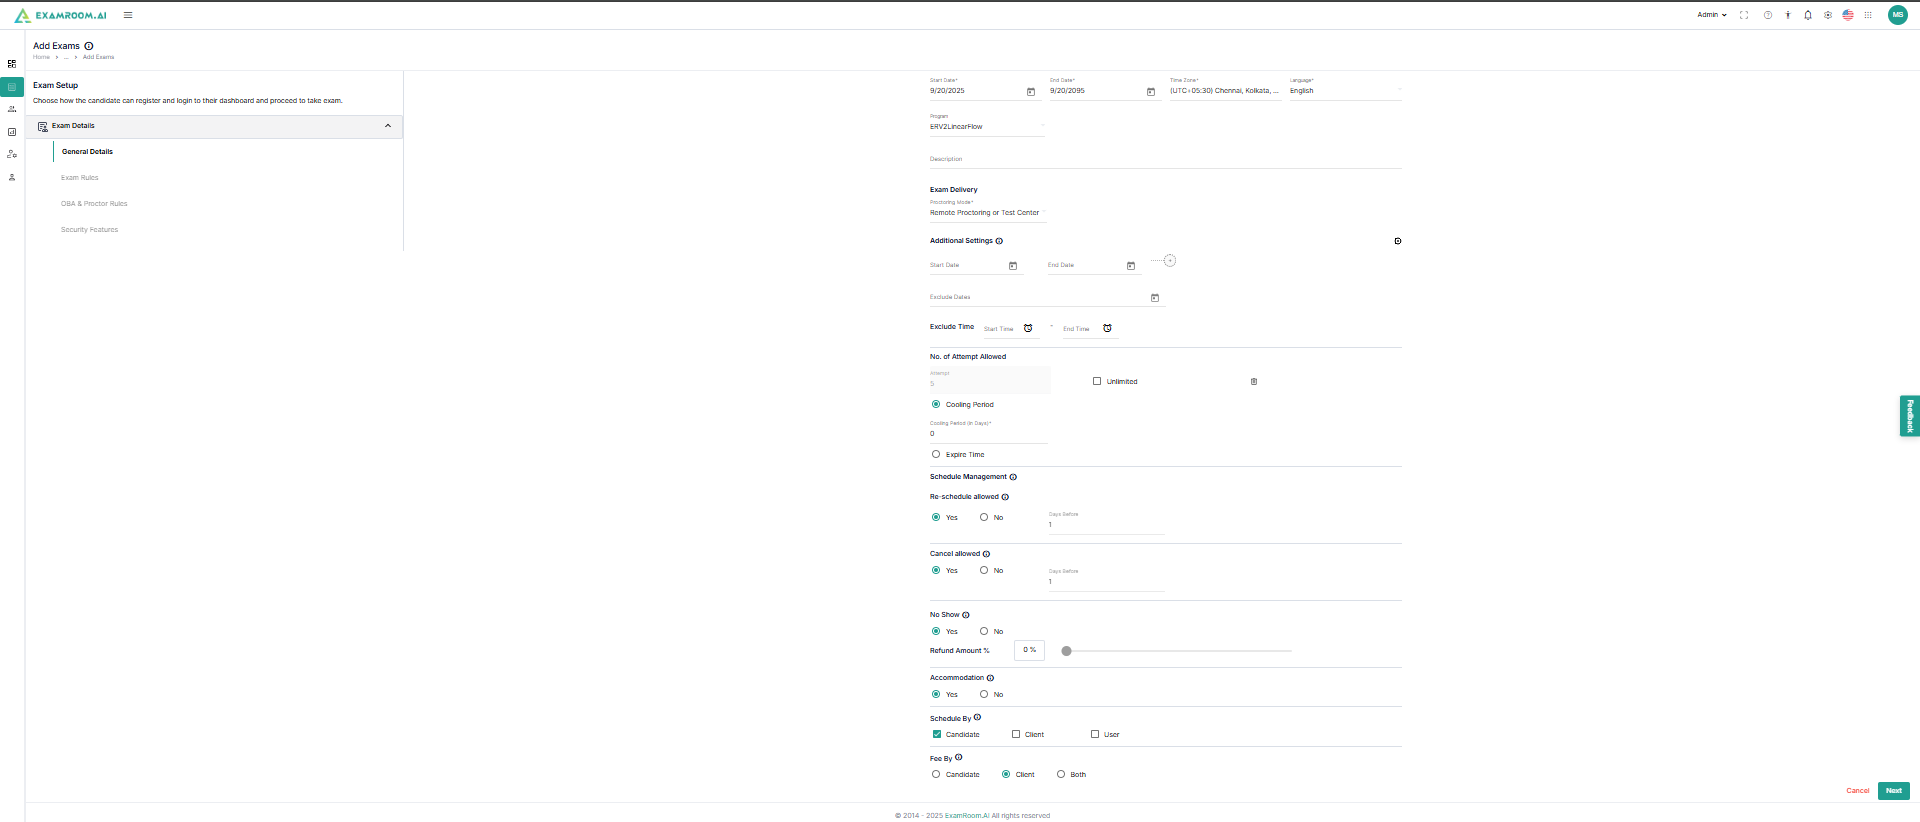
Fill in the general details of the exam, including basic Information:
ExamName: Name of the examination
Duration: Duration denoted in minutes
ExamType: Select from a drop-down menu containing options for written exam, oral exam, practical exam, or virtual skill.
ExamMode: Select from a drop-down menu containing mode alternatives from computer-based testing, paper-pencil testing, or both.
StartDate: Date of activation of the examination
EndDate: Date of deactivation of the examination
TimeZone: Select the time zone for the examination
Language: Select the language from the dropdown menu in which the exam shall be provided to the candidates.
Program: Name of the program
Description: Click to add the description of the examination
ExamDelivery: Select the preferred exam delivery mode from the drop-down menu
Click + to set up additional settings:
StartDate: Date of exam activation corresponding to the start date provided in the basic info section.
EndDate: Date of exam deactivation corresponding to the end date provided in the basic Info section.
ExcludeDay: Specific days of the week to be excluded from candidates for scheduling the exam.
ExcludeDates: Specific dates within the active period of the exam are to be excluded from candidates for scheduling the exam.
ExcludeTime: Click to restrict candidates to specific time slots for scheduling the exam
No.ofAttemptsAllowed: Re-attempts (in count) can be provided or restricted with this feature.
CoolingPeriod: Minimum wait period for retaking the examination
ExpireTime: All re-attempts must be made before this time.
ScheduleManagement: This section contains options for managing the exam, like rescheduling, canceling, no-show, accommodations, scheduling options, and payment options
Click Next to save and go to the Exam Rules section. Click Cancel to go back to the exam details page.
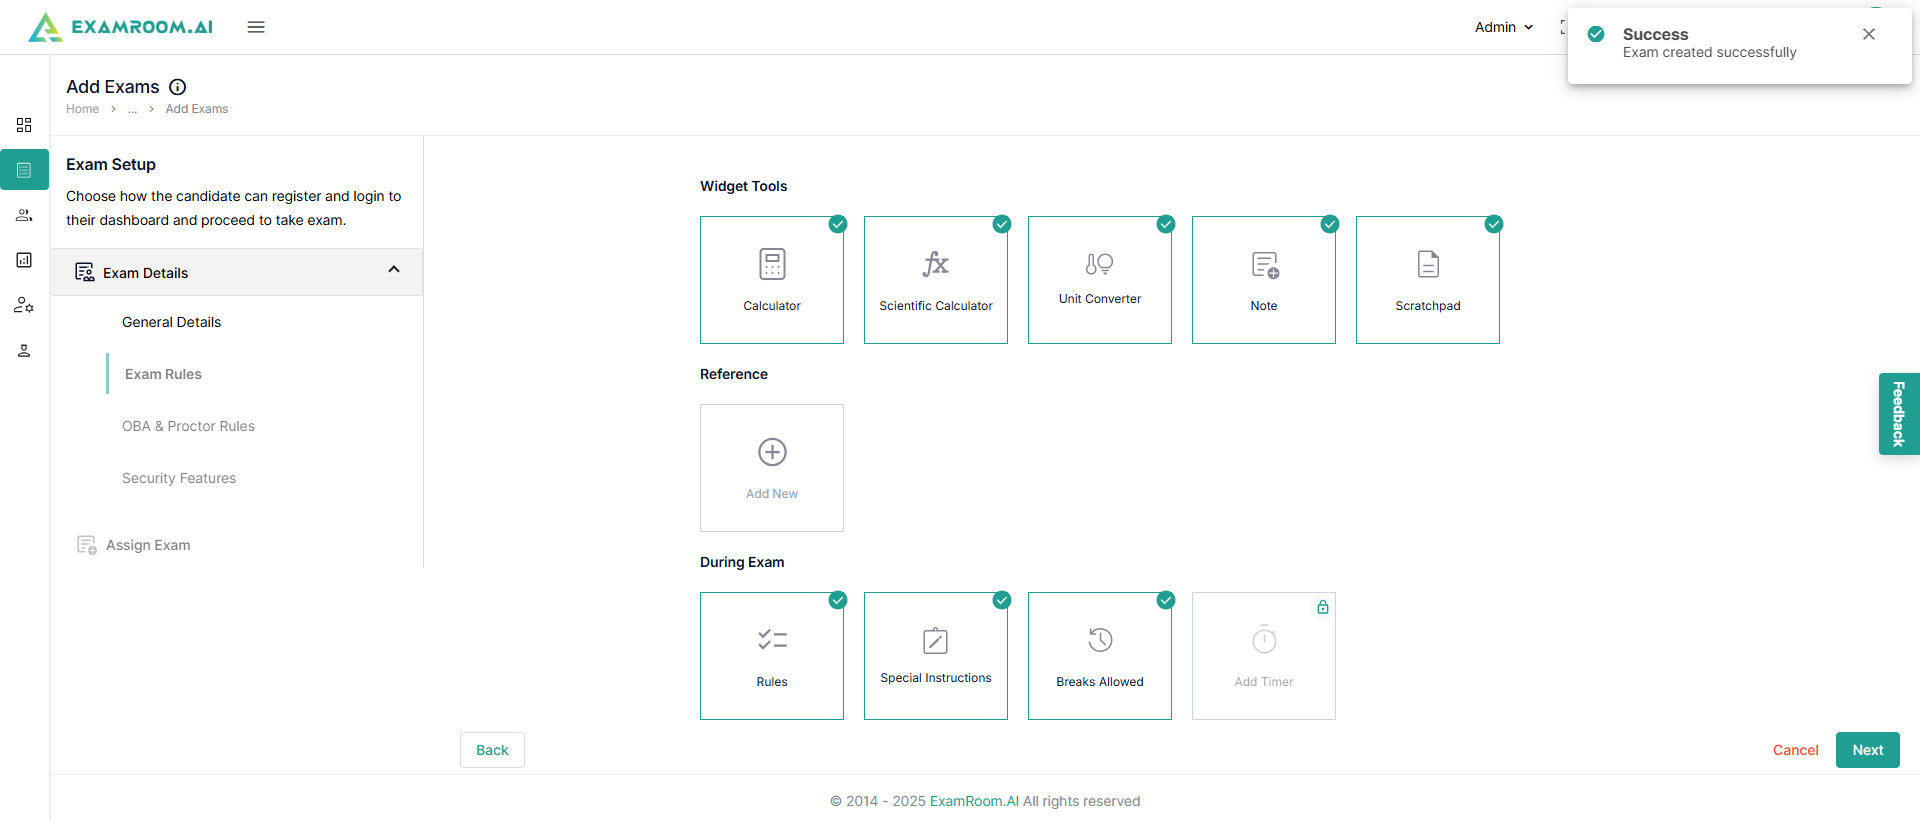
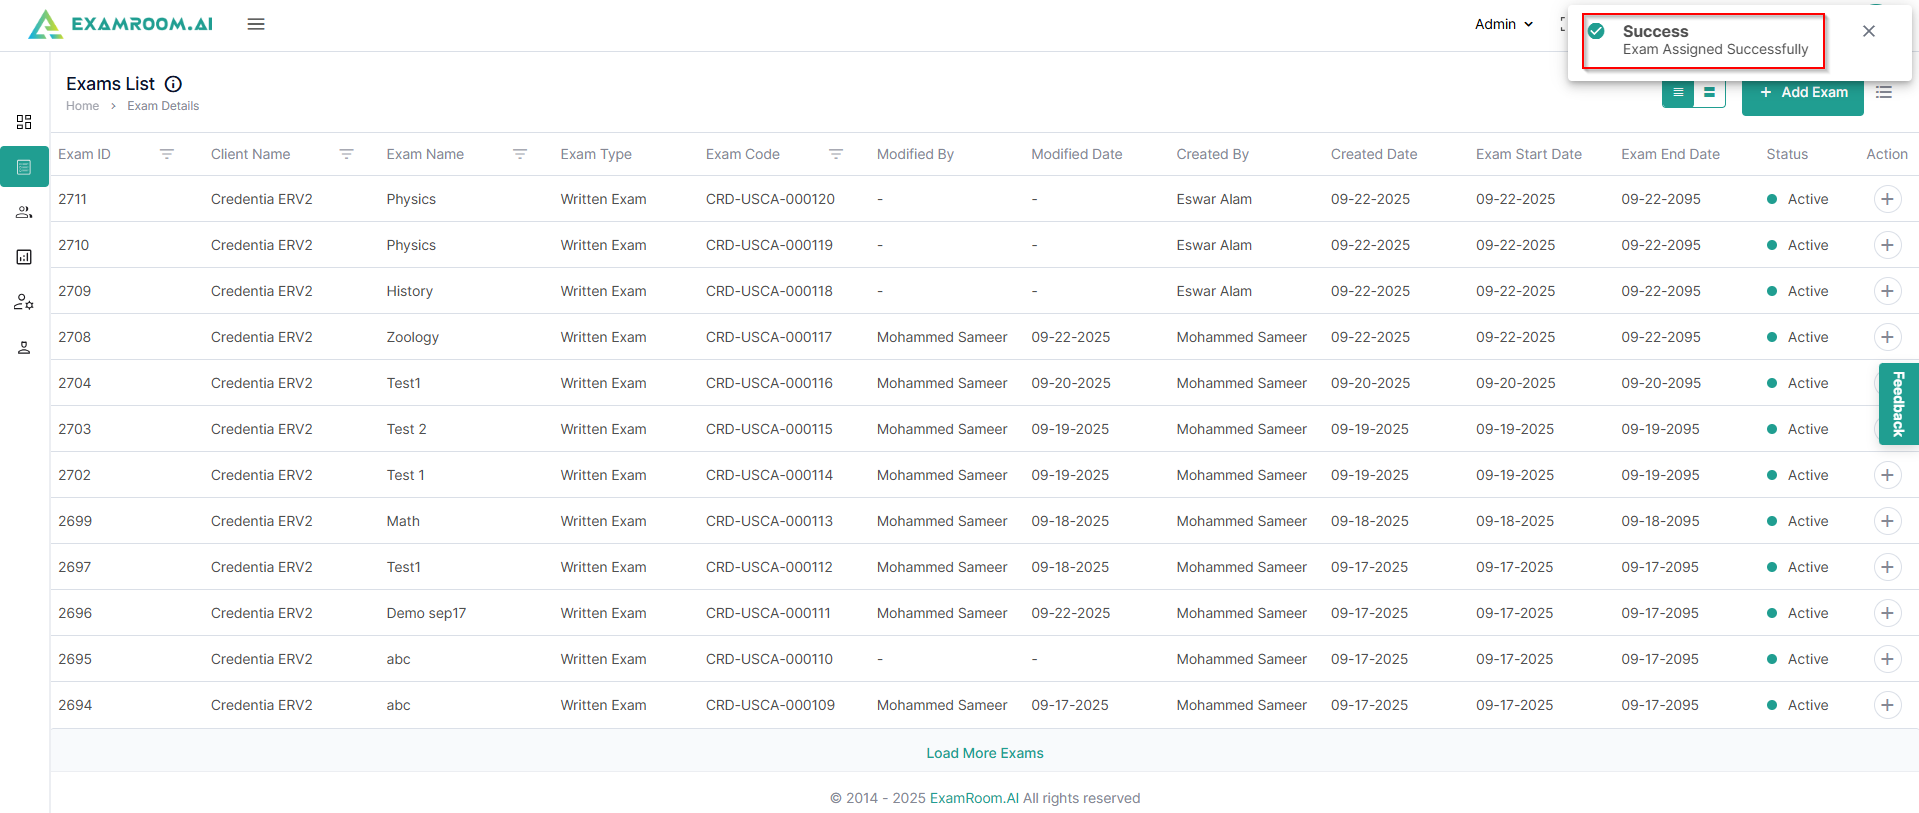
A toaster message appears on the next screen, which allows you to set up ExamRules.
The details of the exam rules are as follows:
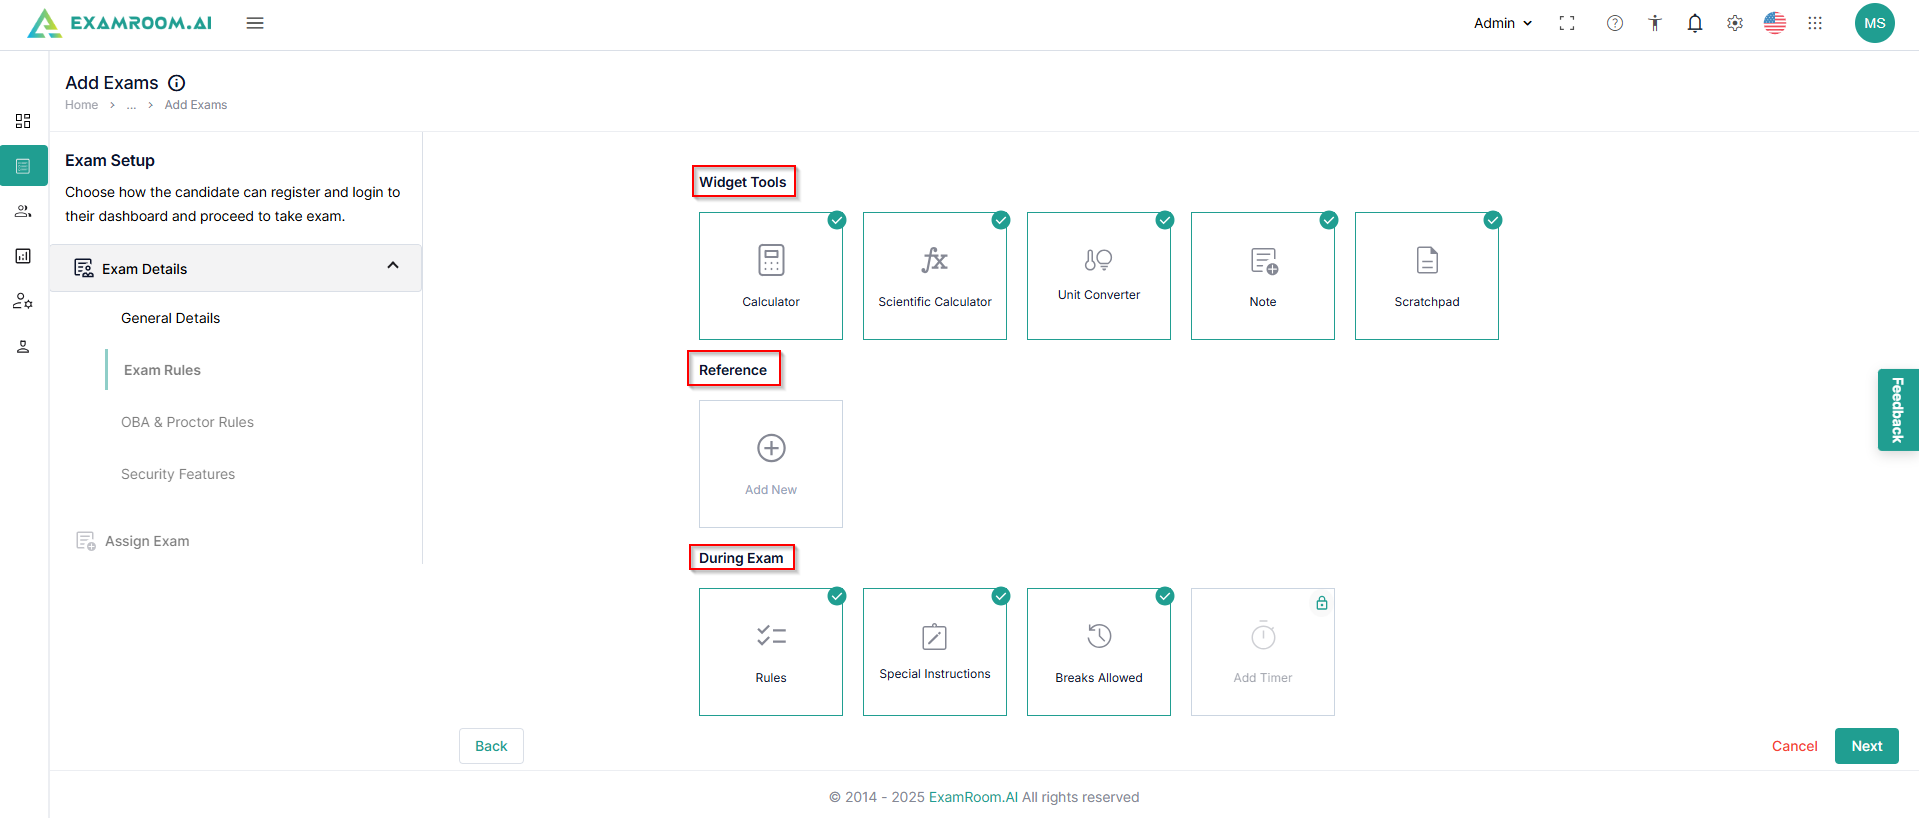
WidgetTools: Select the tools that will be allowed during the examination
Reference: Click to add any link or attachment that the candidate can access during the exam.
DuringExam: Select the rules for candidates during exams, any special instructions like allowed breaks, and the timer.
After filling in the above information, click Next to save the details. Click Cancel to exit Exam Rules. Click Back to go back to the general details.
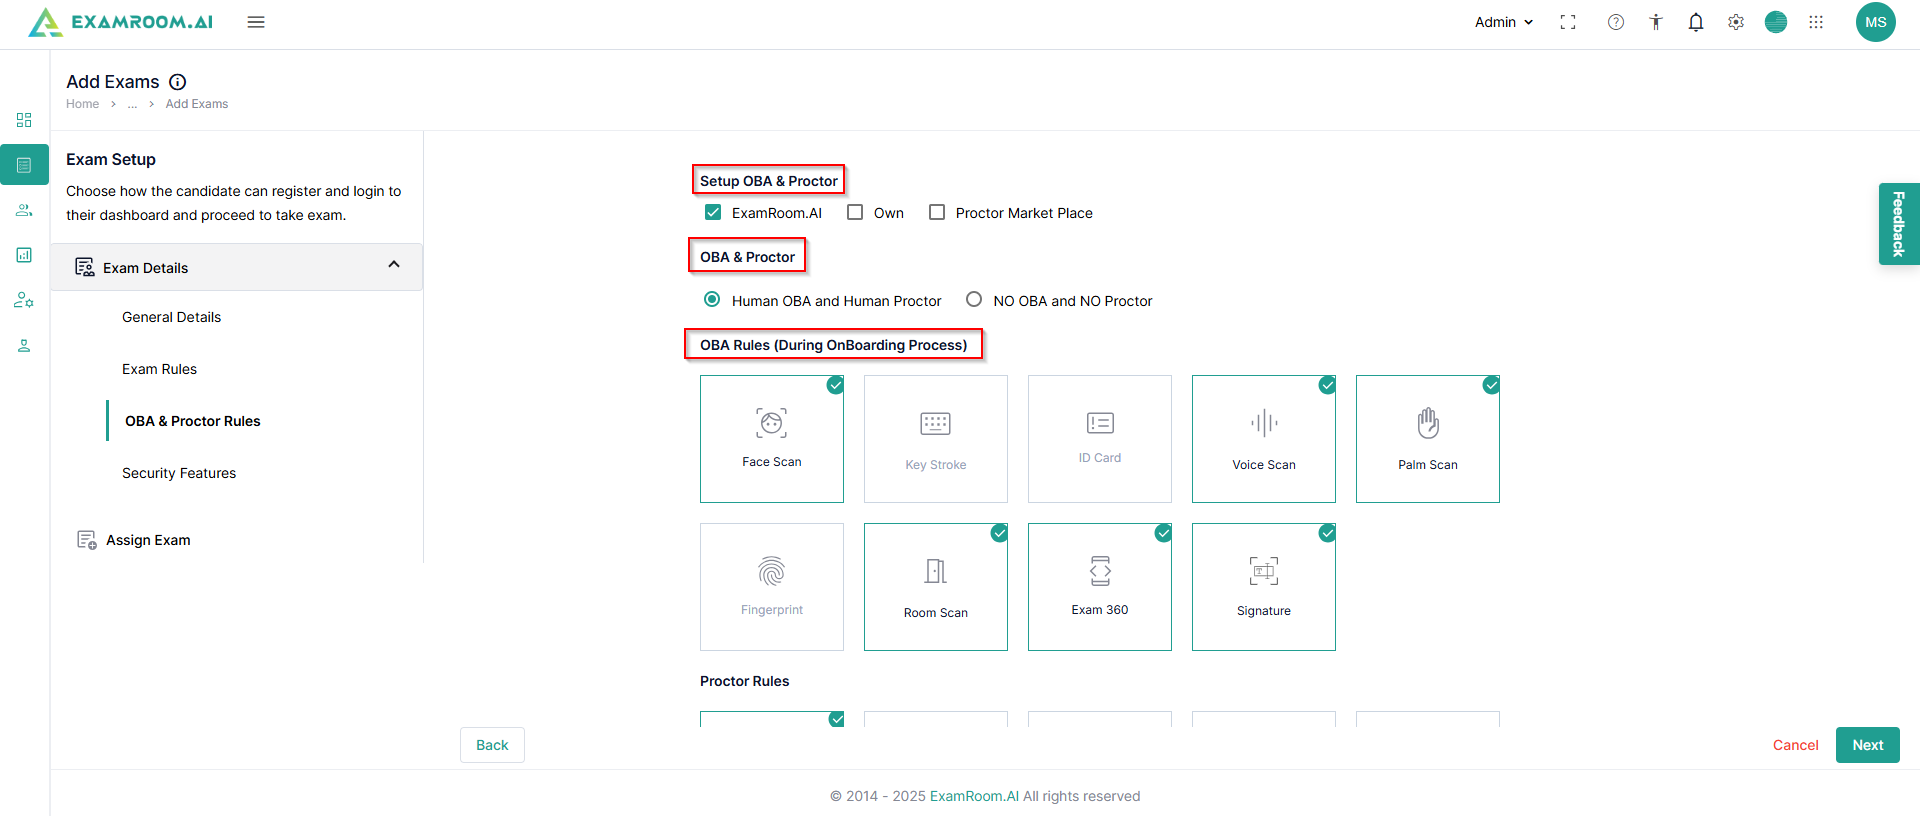
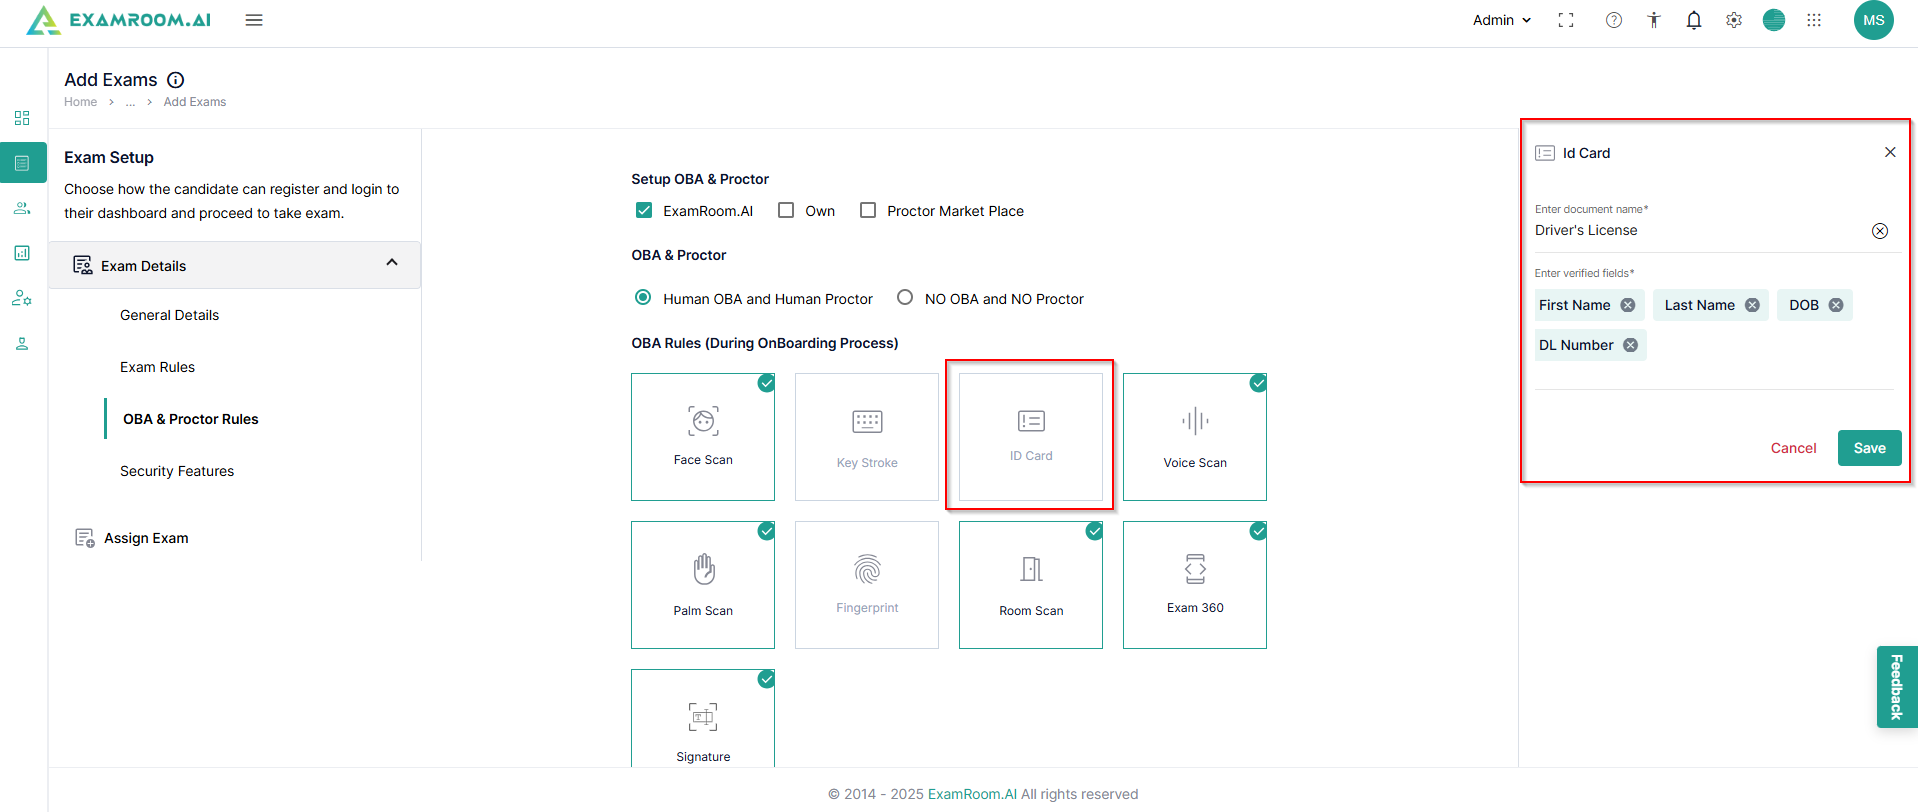
After setting up exam rules, OBA&ProctorRules can be set up, which covers selecting the type of Onboarding Agent and Proctors. This also includes establishing the OBA rules for the onboarding process.
If you add onboarding rules, in the side panel, fill in the details, as shown for the ID card, and click Save.
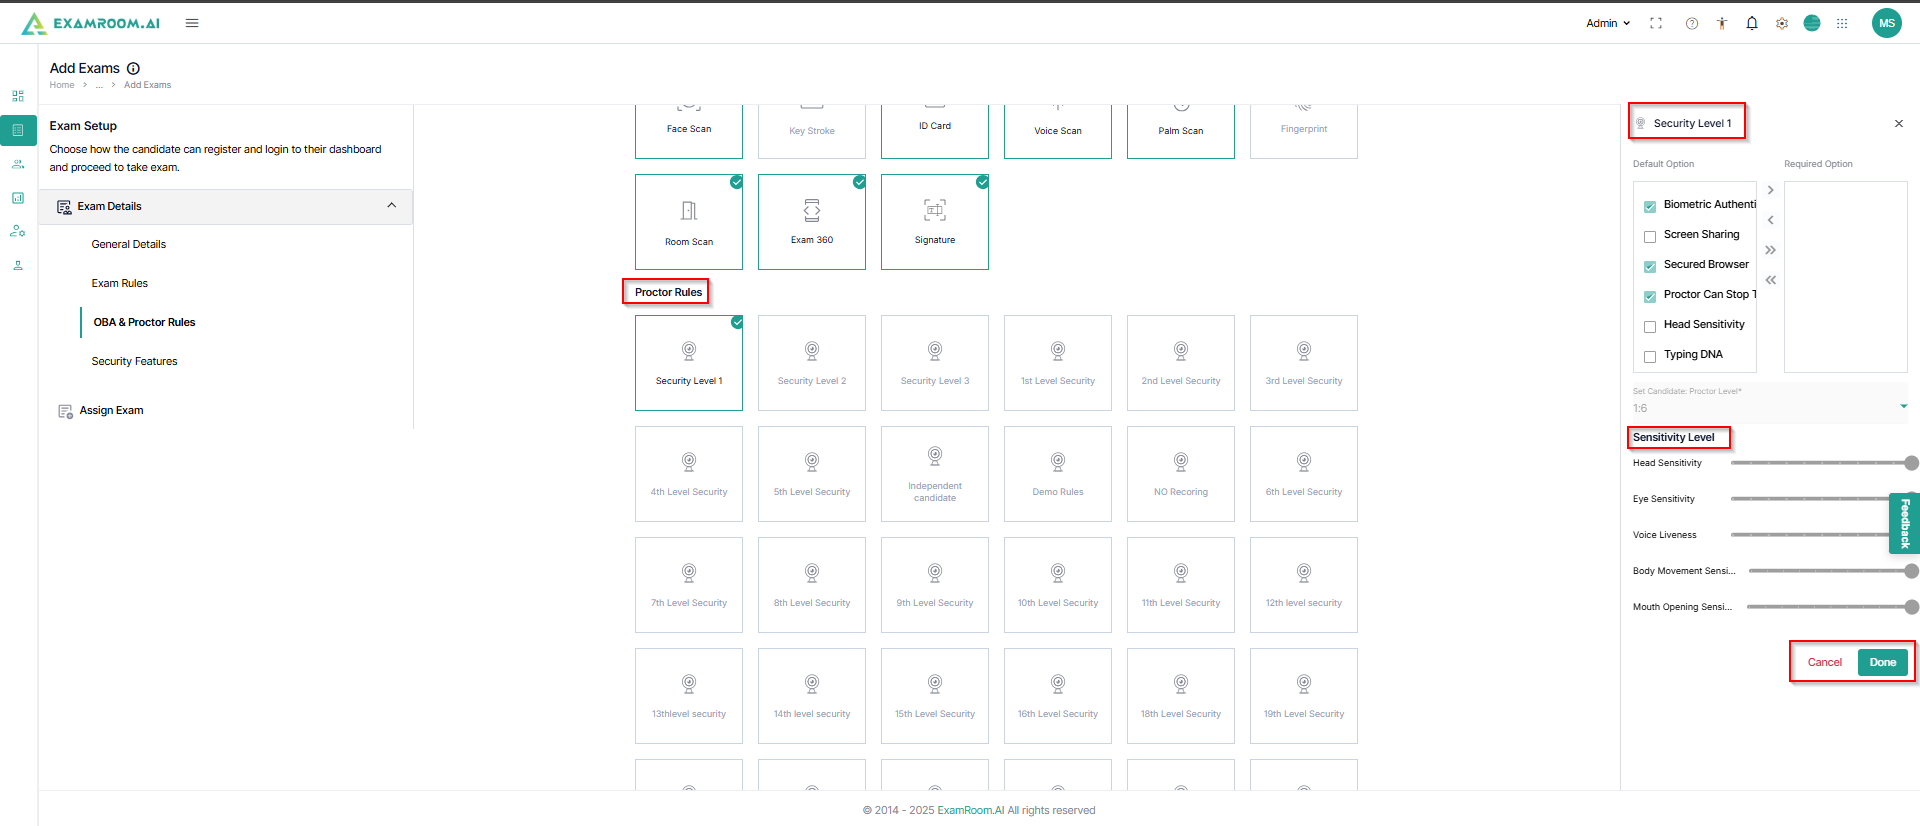
Now, select the proctor rules for the proctoring process. After you select the level, details are displayed in the side panel. Configure those and click Done.
After filling in the above information, click Next to save the details. Click Cancel to exit the Onboarding & Proctor rules. Click "Back" to return to the exam rules.
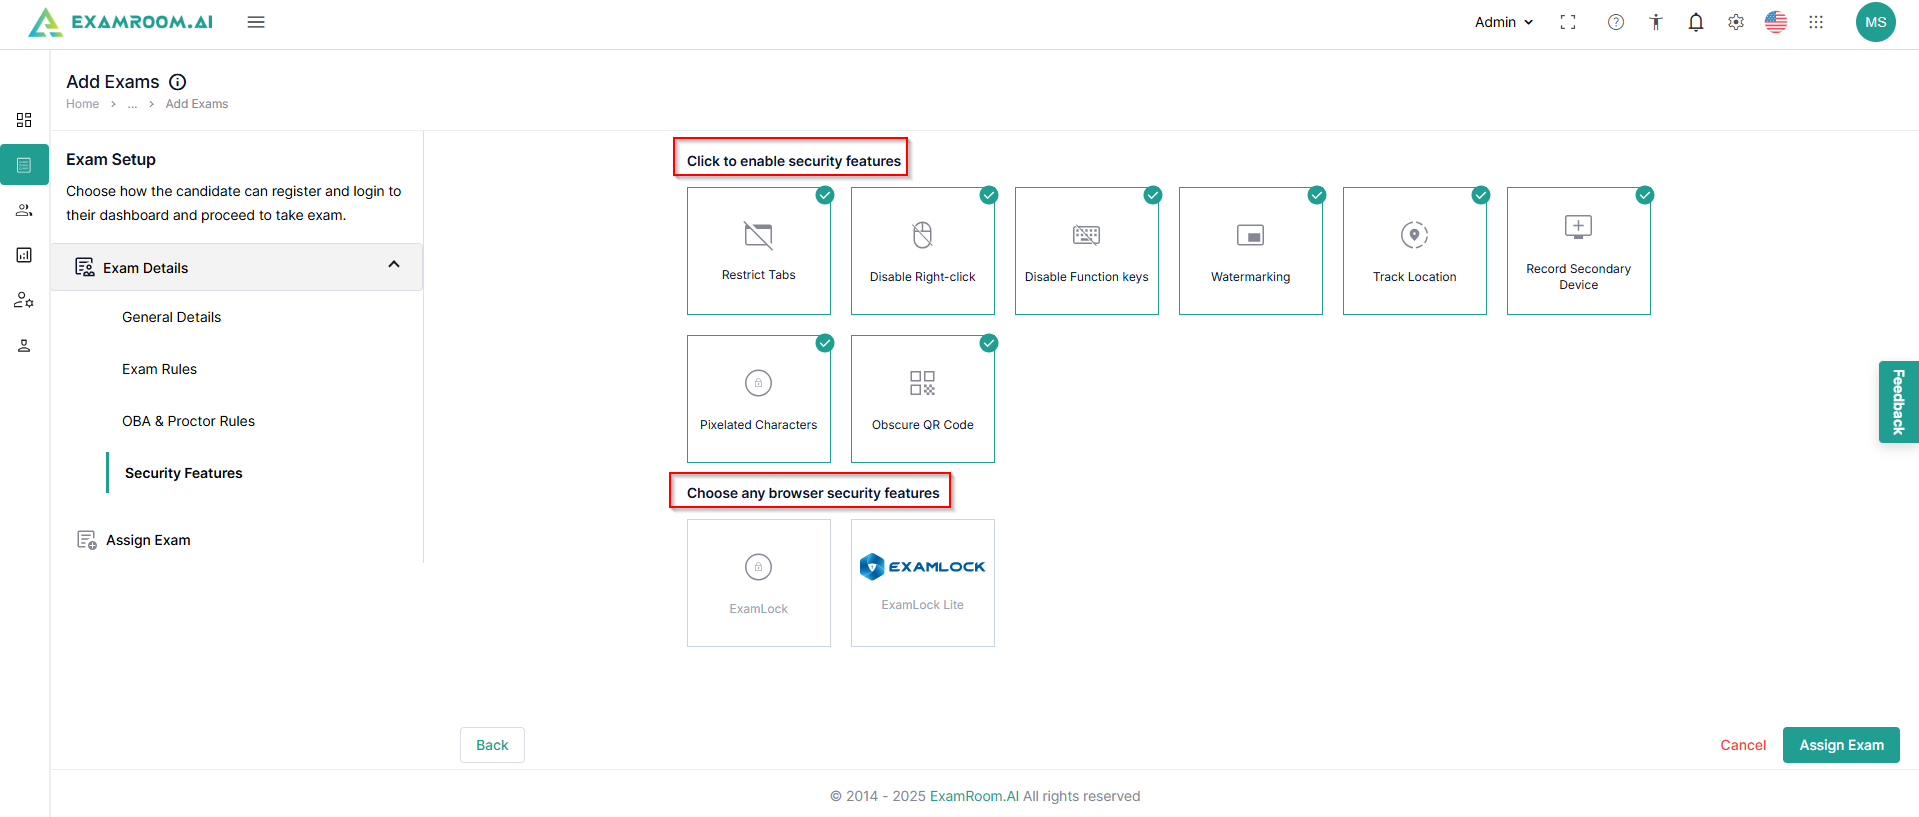
After setting up OBA & Proctor Rules, securityfeatures can be set up, which also include the option of choosing any BrowserSecurityFeatures.
After completing the above information, click AssignExam to assign the exam to specific candidates. Click Cancel to exit. Click Back to go back to OBA & Proctoring Rules.
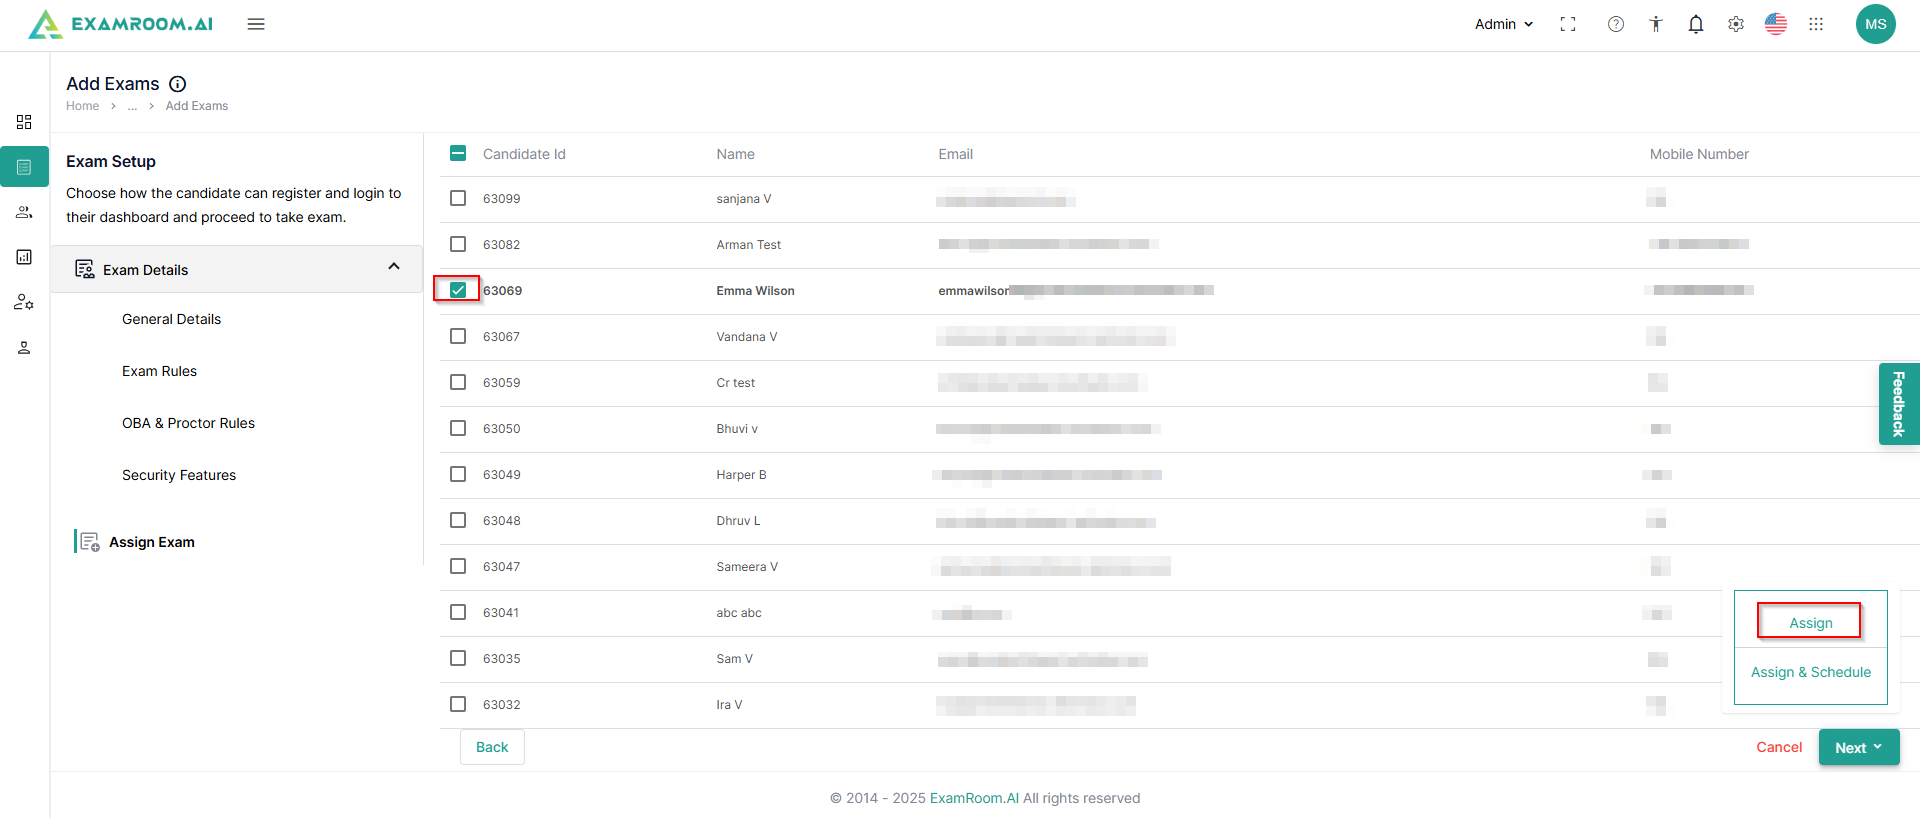
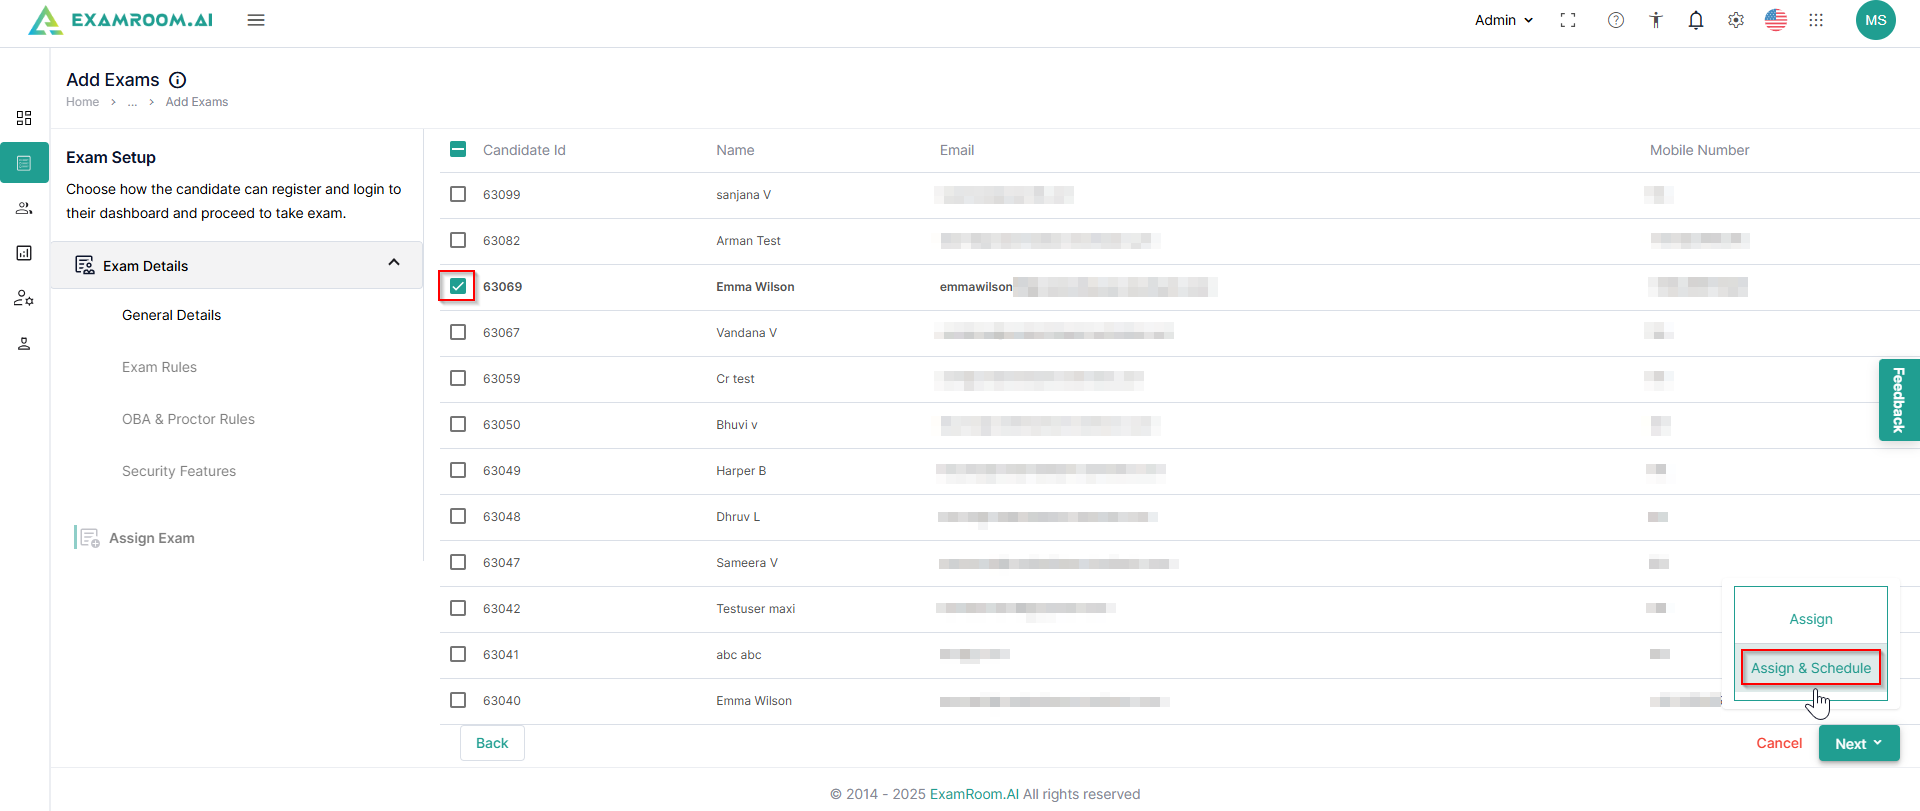
Select the candidates and click Next to proceed. Click Assign to assign the exam to the selected candidates. Click Cancel to exit. Click Back to go back to Exam Details.
You can also schedule the exam for the candidates while assigning the exam to them. Select the required candidates and click Next and further select the AssignandSchedule option.
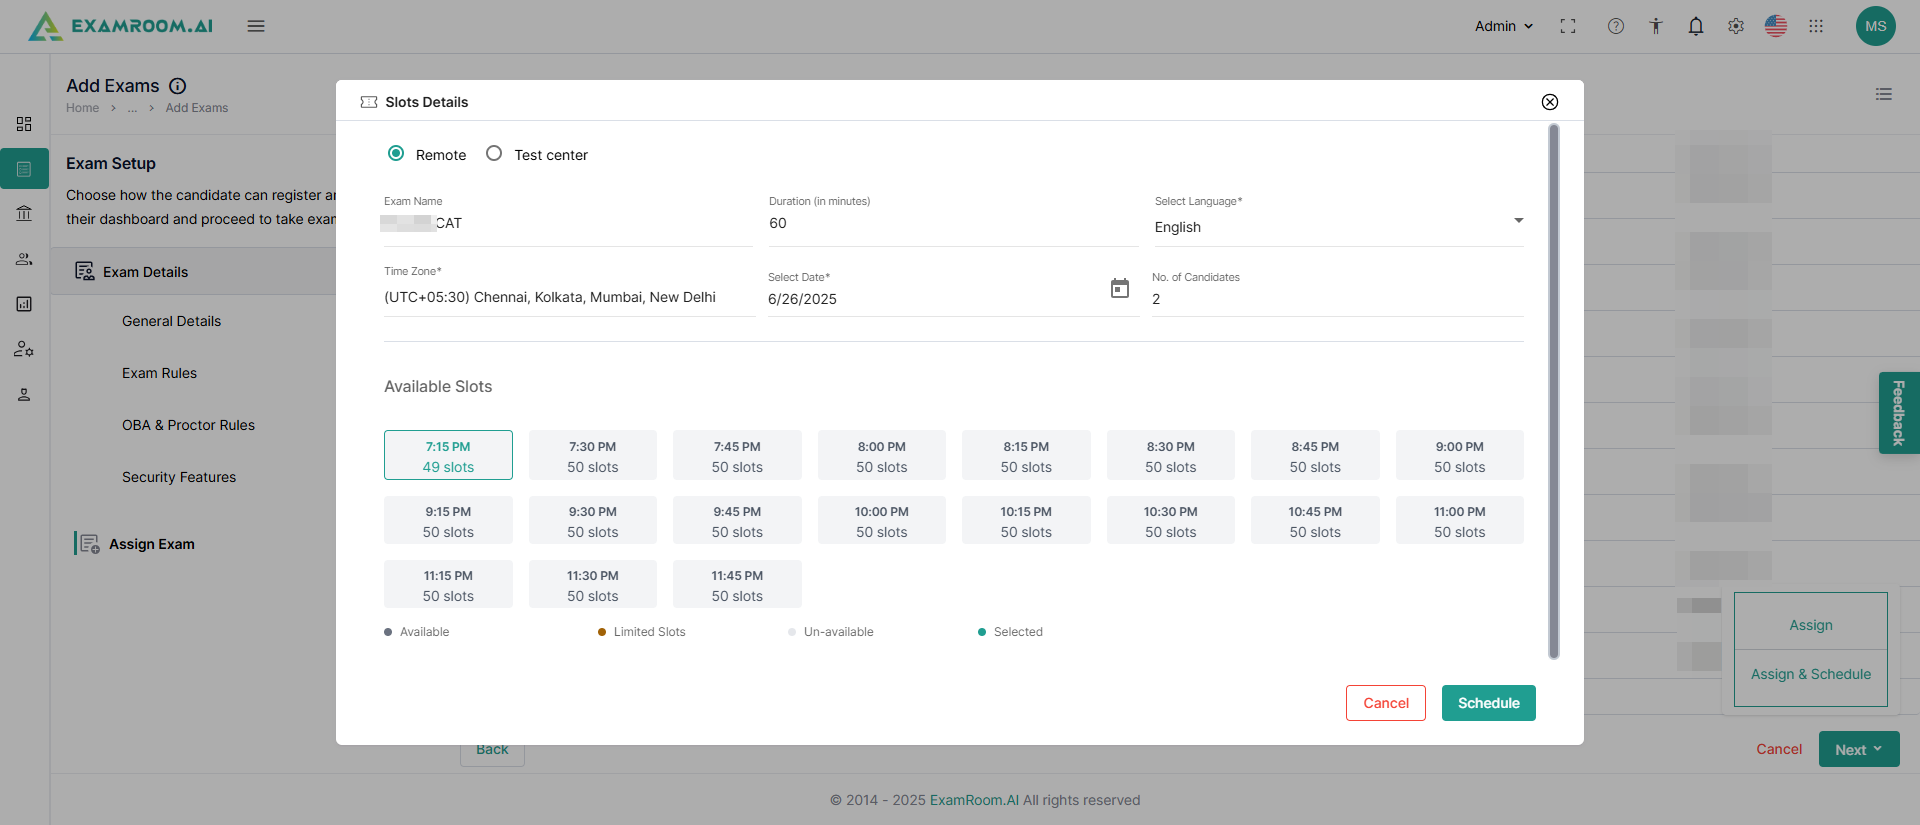
Now, you will be able to book a slot. Select the required slot from the available slots and click Schedule.