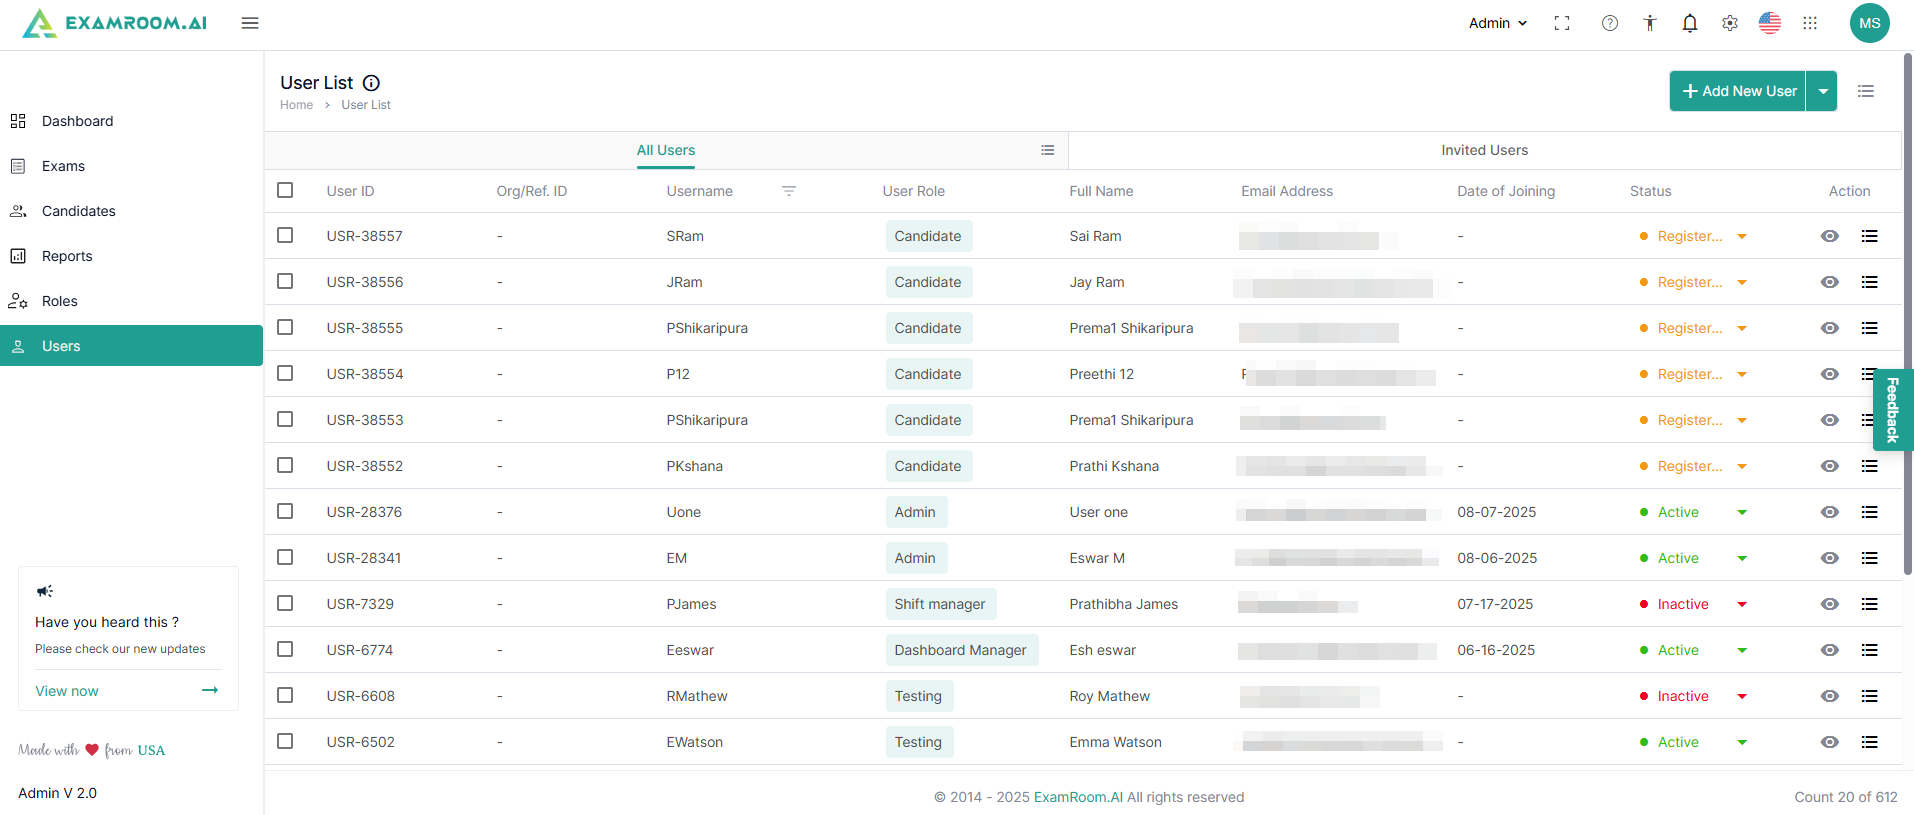
- Click Users on the left navigation menu. It is divided into two sections, All Users and Invited Users.
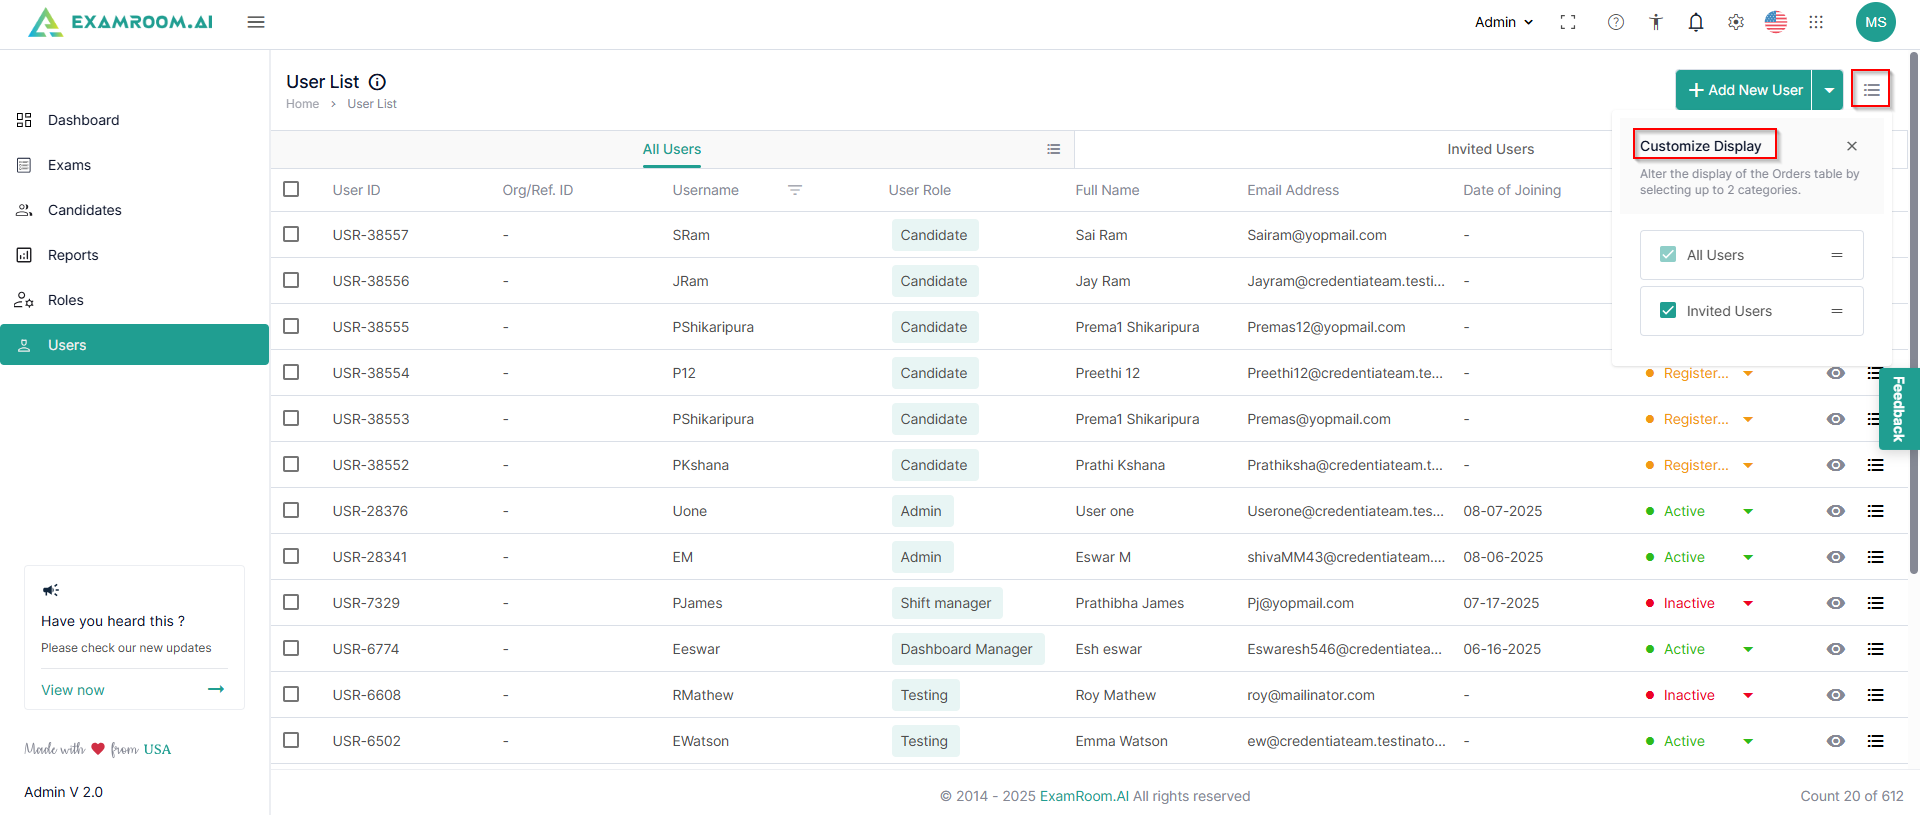
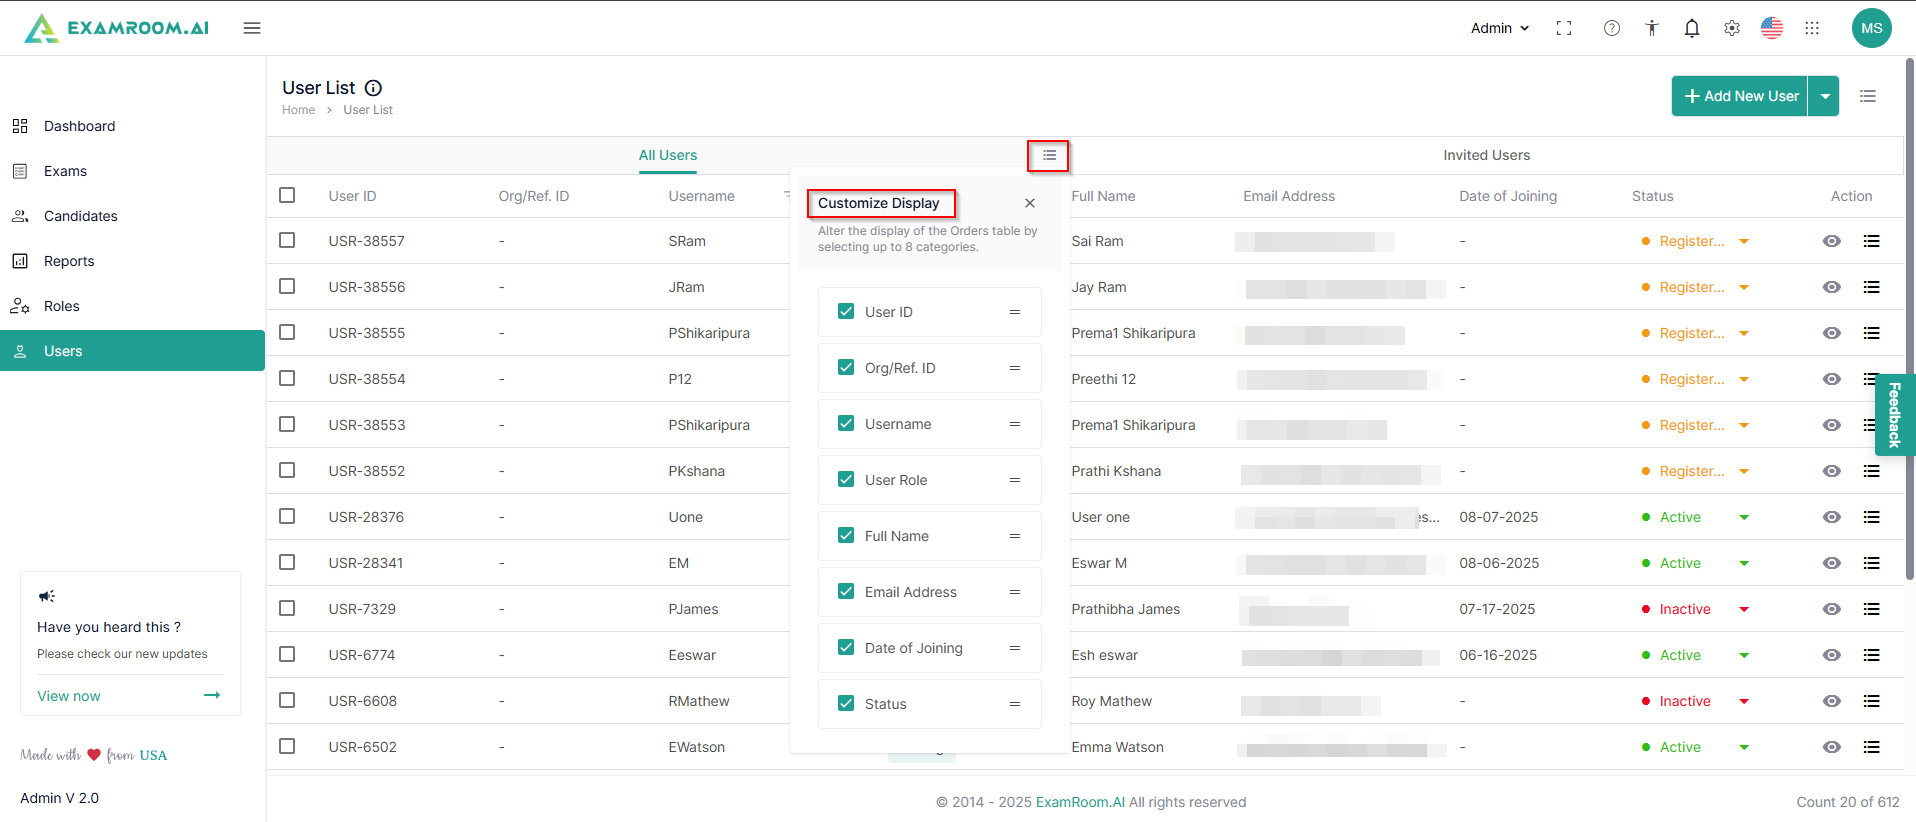
- You can customize viewing any of these through the customize display option.
- In the All Users section, the list of users is displayed with the following details:
- User ID: Unique ID number of the user
- Org/Ref. ID: Organization or reference ID
- Username: Username of the created ID
- User Role: The Assigned role of the user
- Full Name: Full Name of the user
- Email Address: Email address of the user
- Date of Joining: When the user activates their account
- Status: Current status of the user
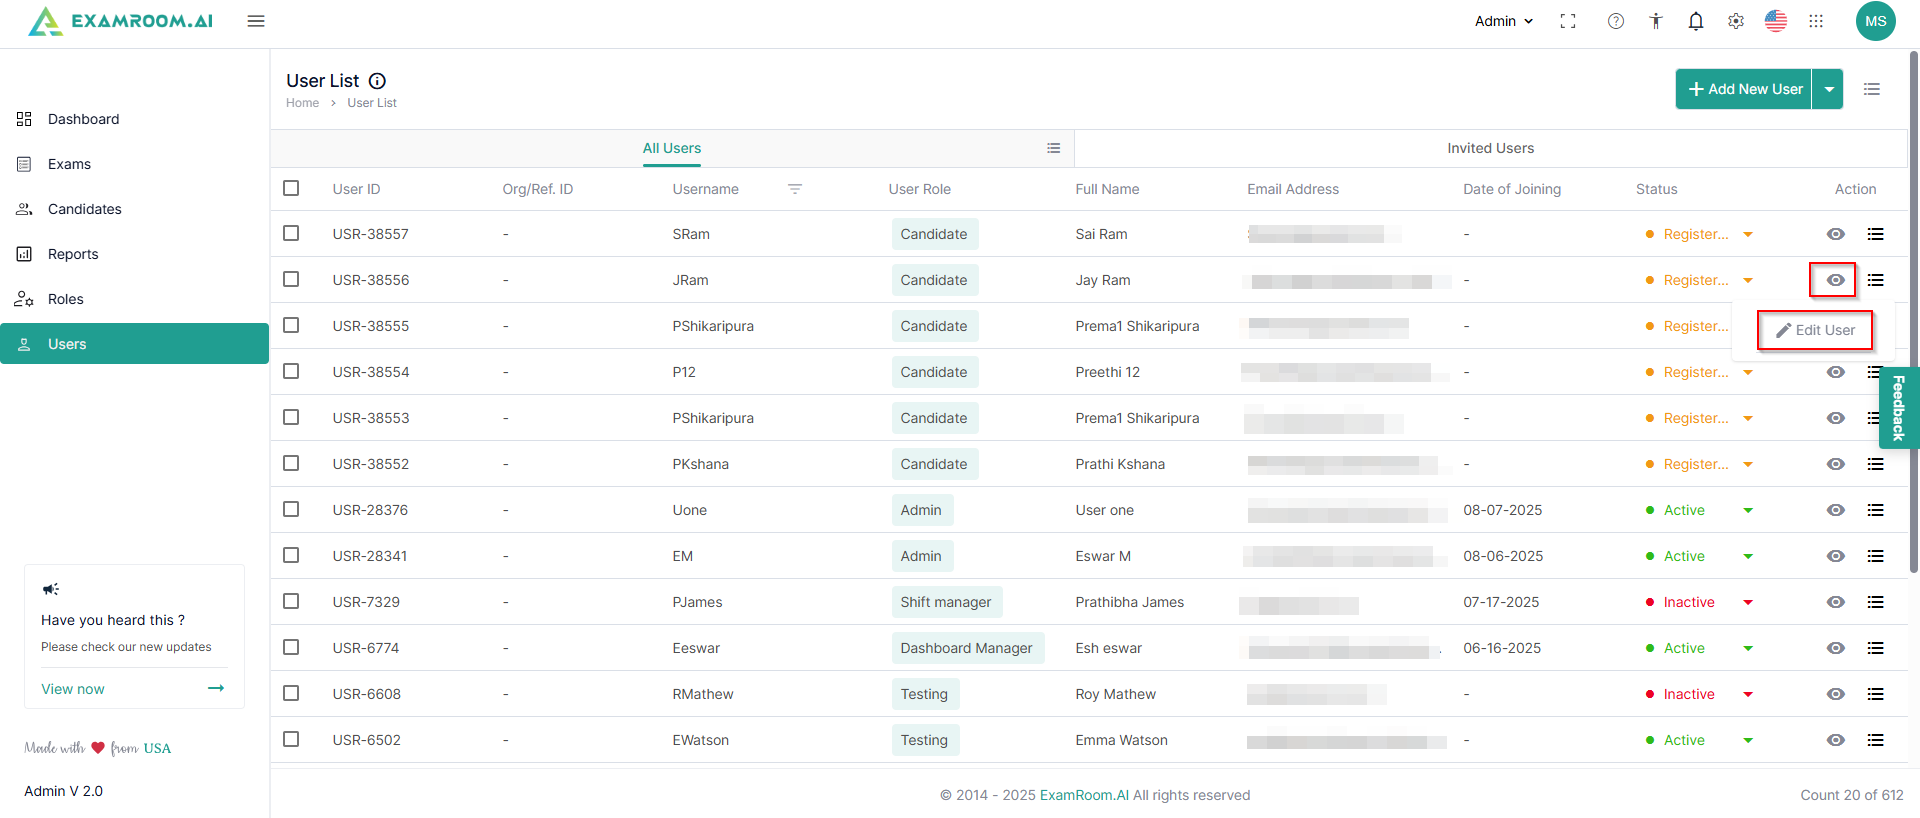
- Action: Available actions on users
- View: Click to get a detailed view of the user
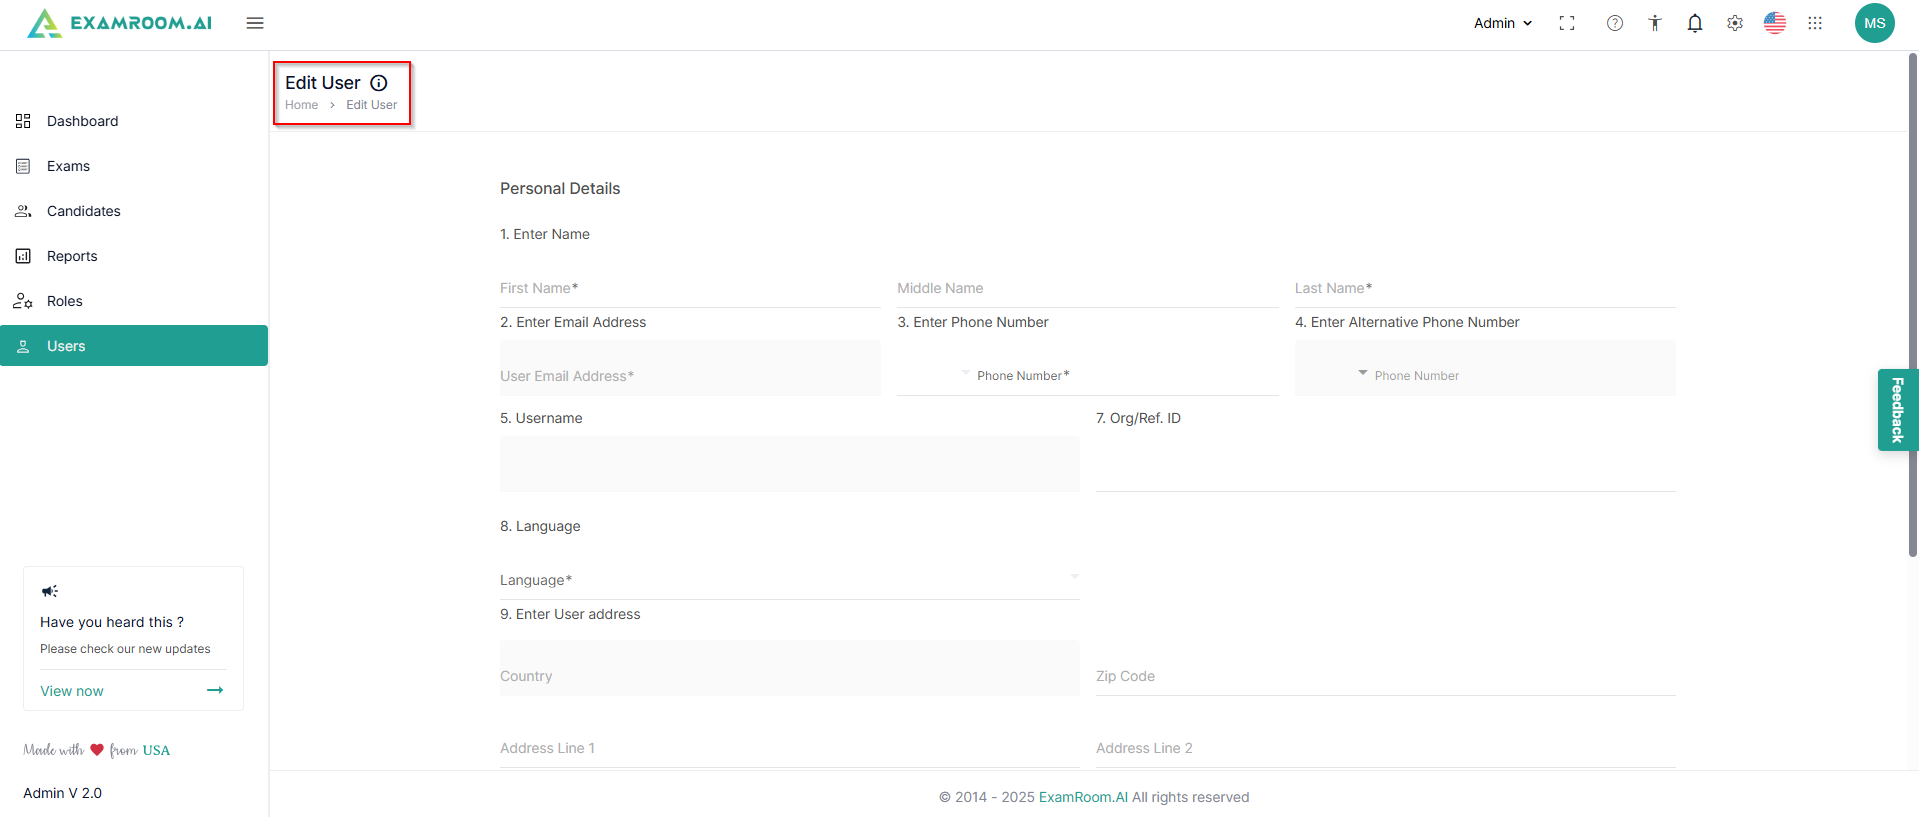
- Edit User: Click to edit the user details.
- You can customize the display to view the desired columns.
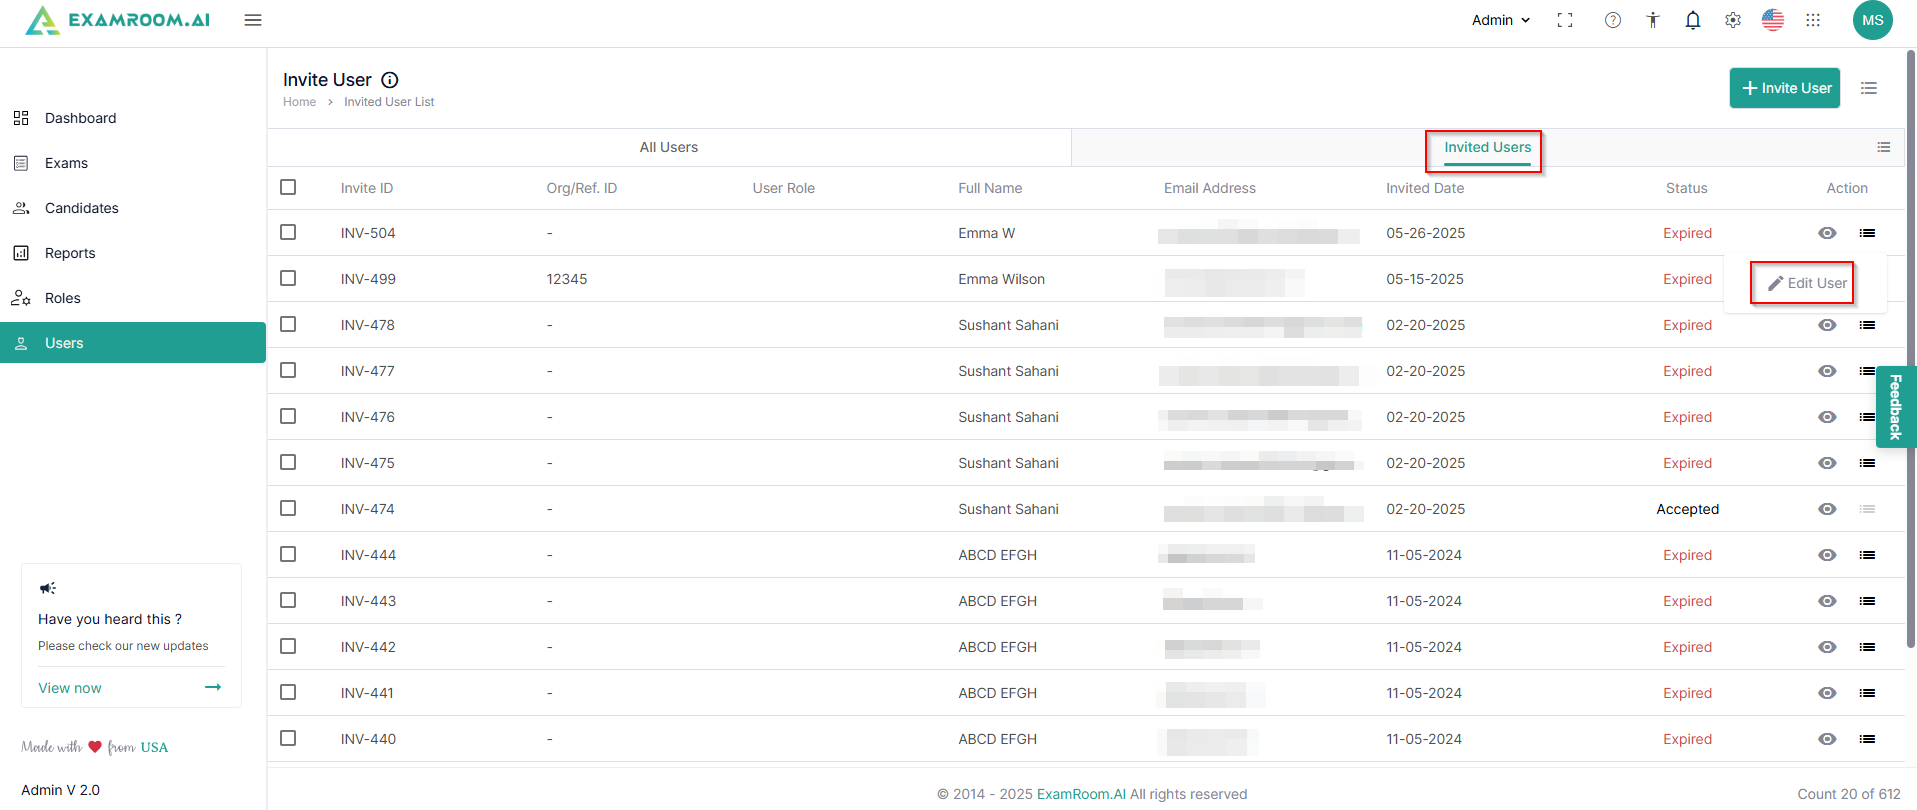
- Switch to the Invited Users tab to view the list of invited users. The Invited User list is displayed with the following details:
- Invite ID: Unique ID number of the user invitation
- Org/Ref. ID: Organization or reference ID
- User Role: Role of the User
- Full Name: Full name of the user
- Email Address: Email address of the user
- Invited Date: Date on which the invitation was sent to the user
- Status: Current status of the user
- Action: Available actions on the invited users
- View: Click to get a detailed view of the invited user
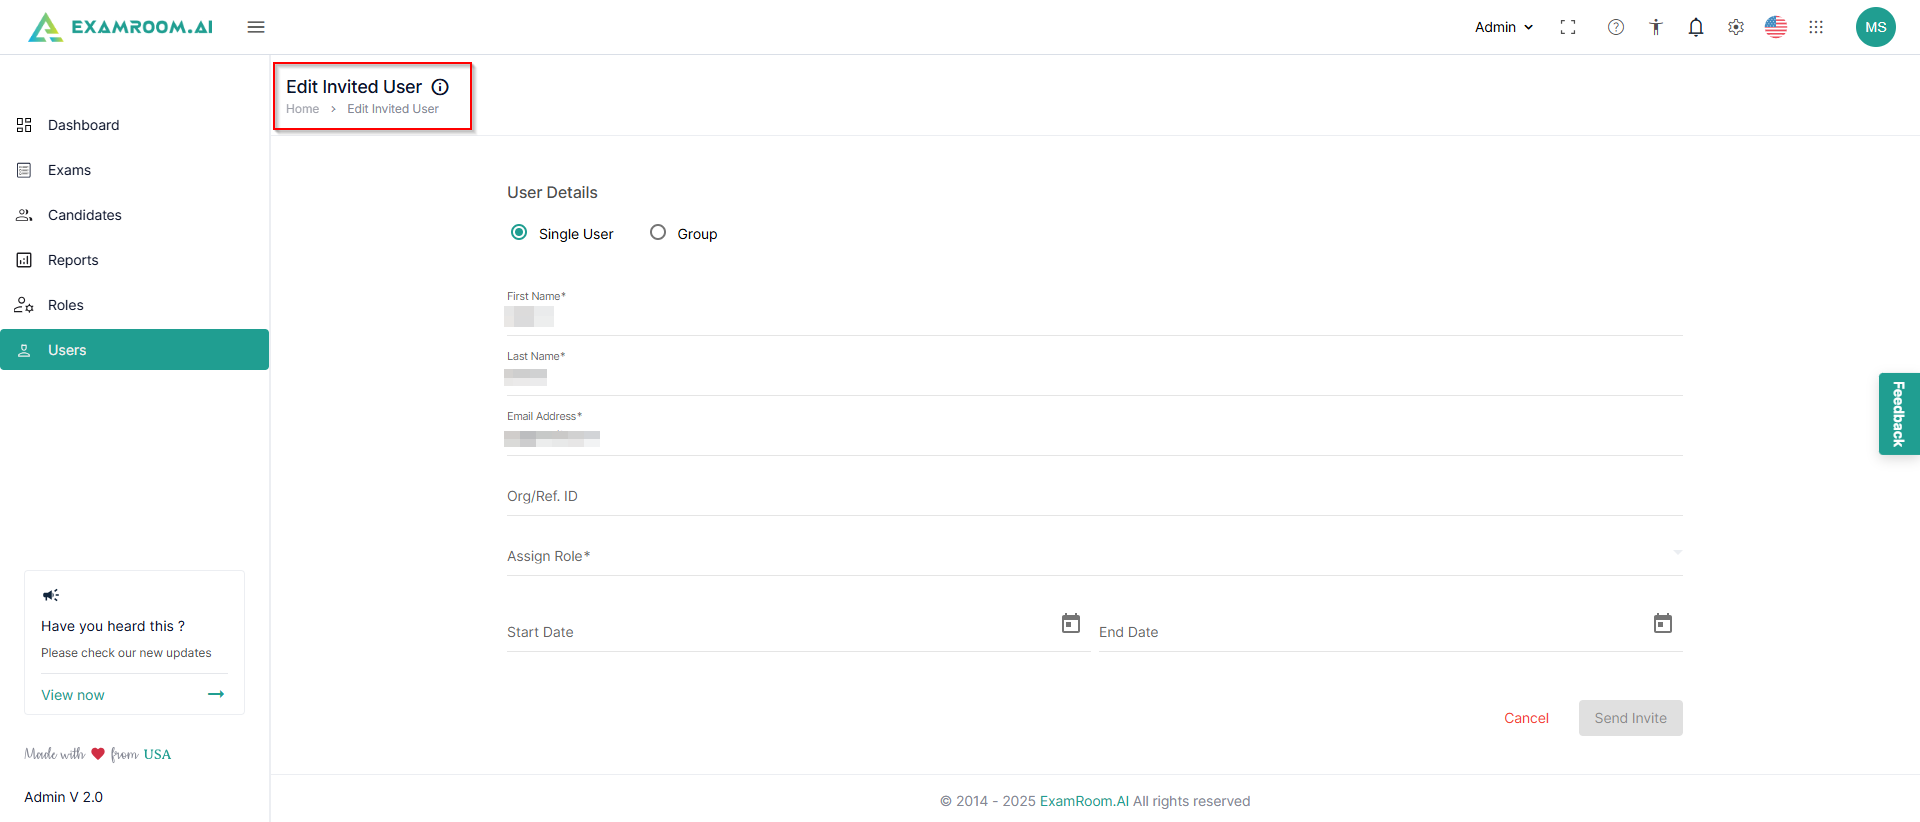
- Edit User: Click to edit the invited user details
Add New User
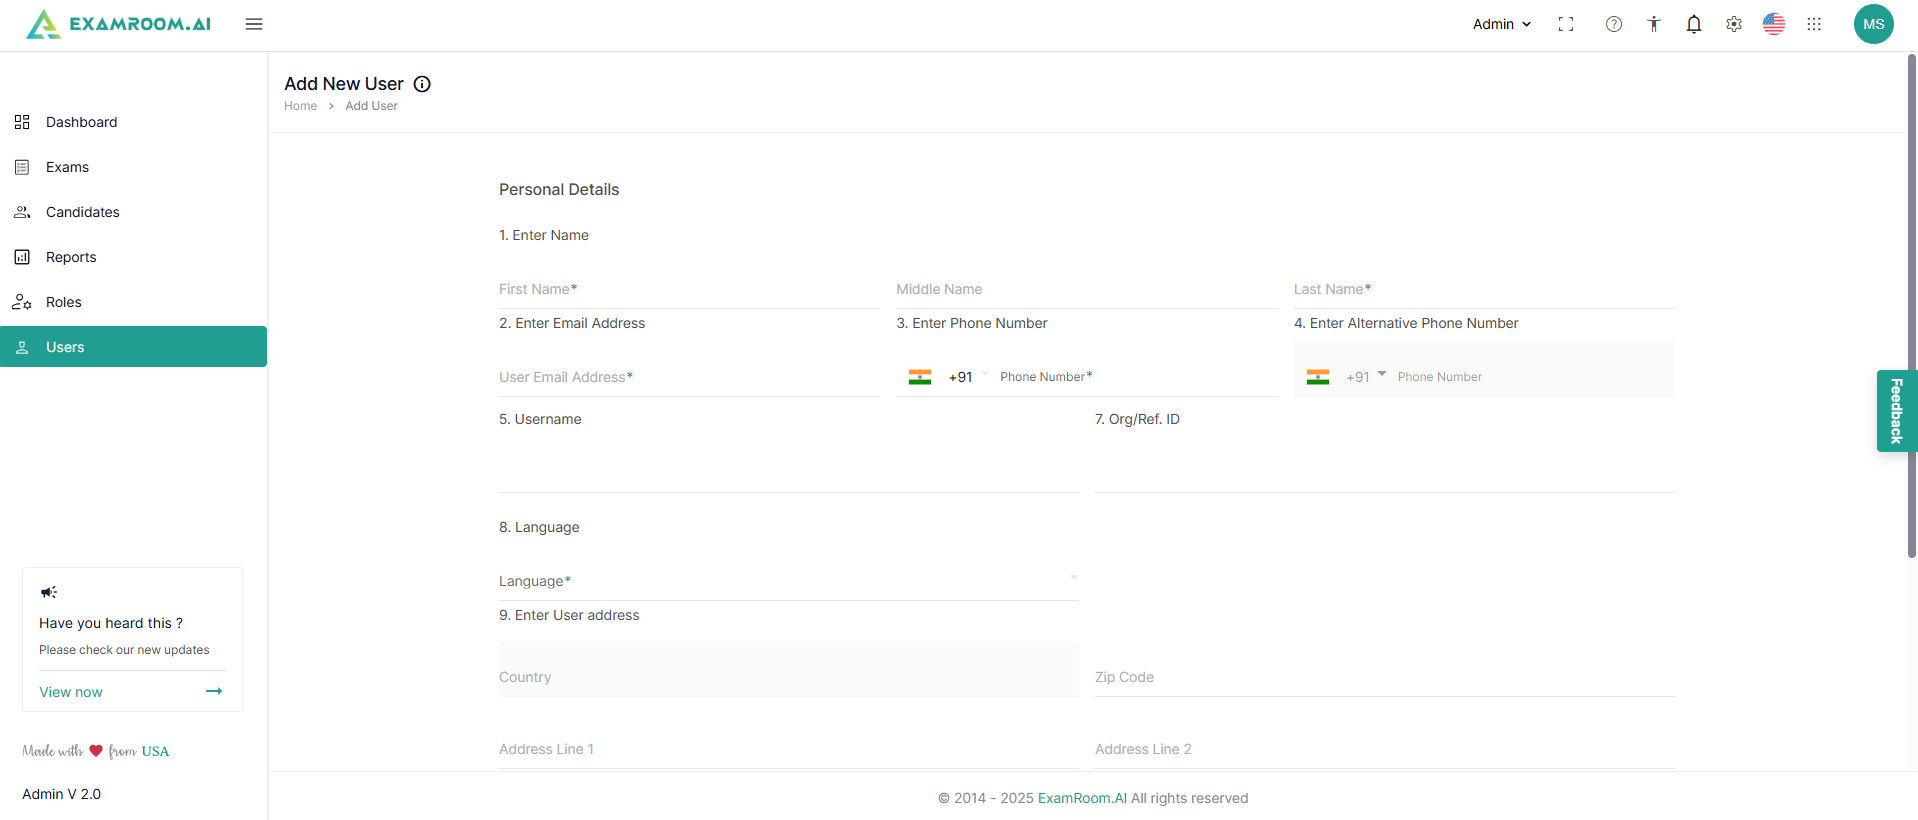
- Switch to the All Users list tab and click Add New User to add a new user.
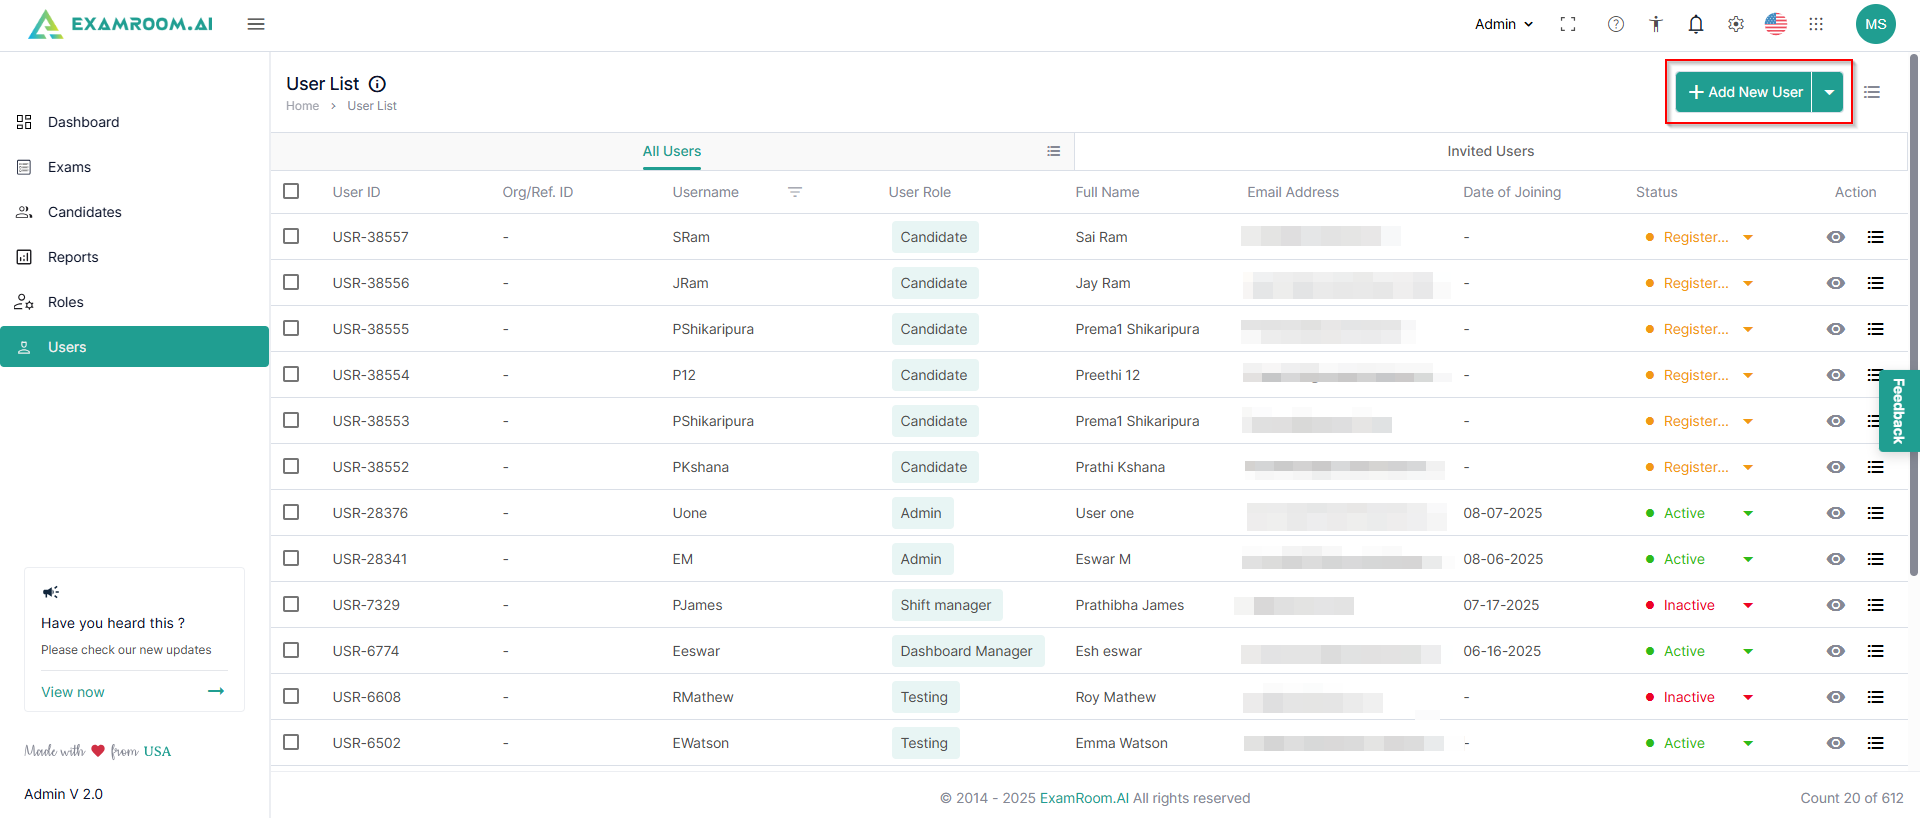
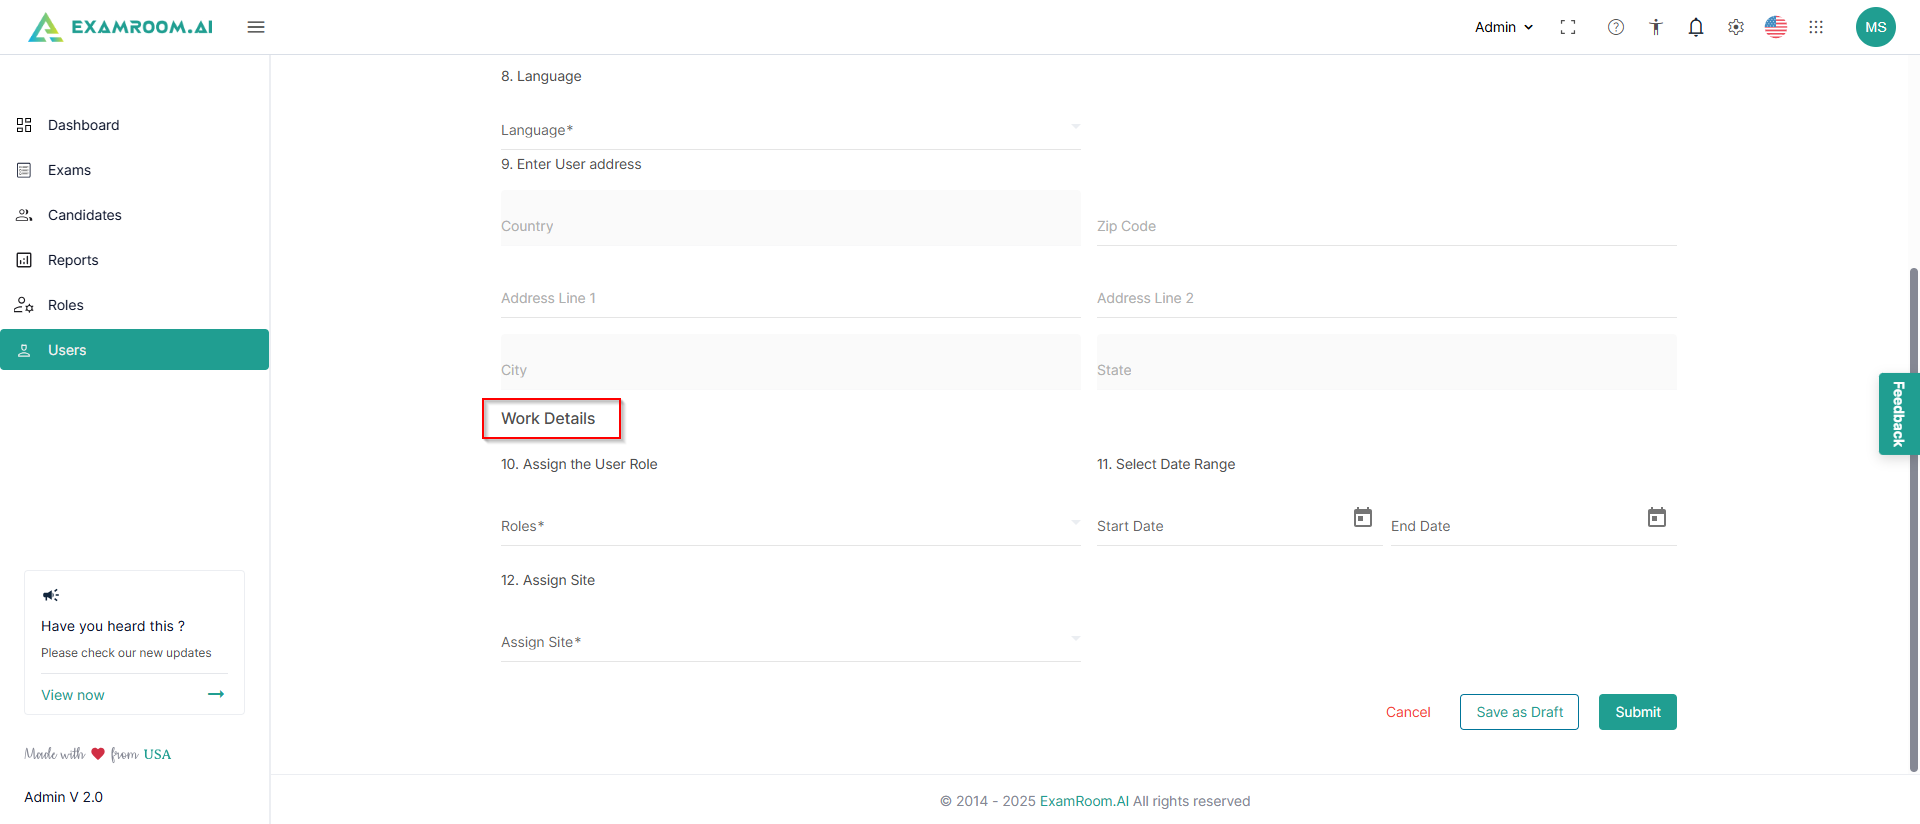
- Fill in their personal details, including name, email address, contact information, username, org/ref.ID, language, and address.
- Add their work details, including their role, start and end date. Click Submit to add the user.
Was this article helpful?